

[Note from Mantic59: this is the second of a series of articles updating some of my original content on Youtube from 15 years ago. Call it a “resharpening!” Click/tap here for Part 1.]
Few people outside the traditional wet shaving community think about making lather with a shave brush and lathering shave soap or cream to shave, but it really can make a world of difference. With this step-by-step guide, I’ll show you exactly what a shaving lather is, what to look for in one, why you should never use an aerosol can, and the different ways to build your own before your brush touches your face. Follow these simple steps to find out and you’ll be able to shave like a pro in no time.
How To Make The Perfect Hot Shaving Lather In Under 2 Minutes!
So, how to make shaving lather with brush and cream or soap quickly and effectively? There are some variations on how to make a good lather with different products, and it can take a little practice to get right, but the payoff can be a dramatically better shave.
Making shaving lather the traditional way starts with soaking both the brush (and maybe the cream or soap too) in water.
Fill a sink with warm-to-hot water and place the shaving brush in the sink. How long the brush needs to be soaked is dependent on the type of brush: boar hair, horse hair, and low grades of badger hair (such as “pure black”) need to soak longer than higher grades of badger. Synthetic brushes really do not need to be soaked at all, just thoroughly wetted.
If you are using a puck of shaving soap put it in the sink as well (or if it is in a container or bowl put the hot water in that). If you have a jar of shaving cream that has not been used for a while it is probably worth pouring in a little water as well. The key point in these circumstances is to loosen the outer “skin” of the product to make loading easier. More on that shortly.
After soaking dump the water out of the container of soap or cream back into the sink and remove the excess water from the brush with a couple gentle shakes or by “pinching” the hair knot.
Next thoroughly rinse the area you’re going to shave with the ‘soapy’ water from the basin. The soapy water will help create a “foundation” for the water and lather to better adhere to. If you are shaving your face be sure to pay attention to your neck as well.
Now it’s time to load the brush.
Loading a Shaving Soap vs Cream
If you have a shave soap puck or a jar of shave cream, spin the brush onto it, pressing down slightly, to coat the brush’s bristles with product (an alternative for the jar is to scoop some out with a small utensil and place it directly into the center of the brush). You are looking for more than just a light foam on the bristles–you want a relatively thick coat. Depending on the type of product it may take 10-30 seconds to load.
If you are using a tube of shave cream, squeeze out an almond-size amount directly into the center of the brush.
Building The Lather
There are three basic ways of building traditional shape lather: in the palm of your hand, in a mug or a cup of some kind and directly to the skin. Each way has its distinct advantages and disadvantages. But in general you are looking for a shiny, somewhat “loose” consistency (runnier than what might come out of a can or brushless tube) with soft “peaks” (like a cake batter) without any bubbles.
Lathering In A Bowl (Or Mug Or Scuttle)
I prefer to build lather in a mug or a bowl of some kind. I think it’s easier to hydrate–easier to gauge the correct amount of water–and if you heat the bowl or mug, you get a nice warm lather, too, which can feel really good.
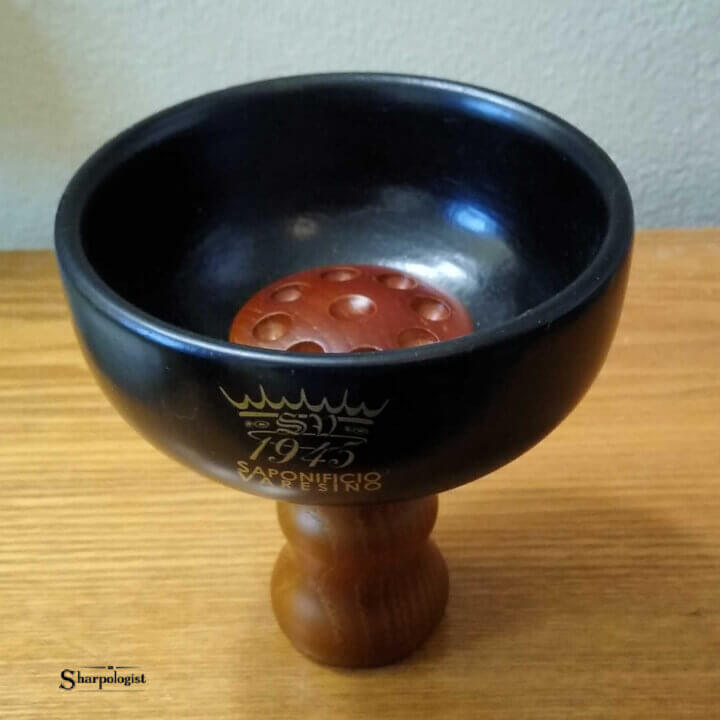
There are a number of different kinds of “vessels” you can use, from purpose-built lathering bowls and mugs (like this one from Sharpologist sponsor Saponificio Varesino) to repurposed items like a large latte’ or soup mug–or even an inexpensive kitchen storage bowl. Whatever you use, look for something with a wide enough diameter for the brush and relatively high, straight sides.
After you have soaked and loaded the brush, press the brush into the bowl slightly–don’t mash it all the way down! Then start spinning the brush with moderately-fast, circular motions using your wrist. I find it helpful to change direction occasionally.
After about 30 seconds take a look at the brush hair. Is it evenly covered with soft peaks? If so, you’re good to go to the next step. If it still looks “dry” and the hair has “holes” in the coverage, dip the brush’s hair tips in the water for a moment and go back to circular motions for another 30 seconds or so. Repeat until the “holes” have closed up and you see the soft peaks.
After you finish building your lather be sure to take an additional 30 to 60 seconds to thoroughly massage the lather on to the area to be shaved.
Lathering In The Palm Of The Hand
Building lather in the palm of the hand is similar to bowl lather but I I admit I’m not a fan–It’s kind of messy and you lose water, and I don’t think the cream gets hydrated as nearly as well as it could be, but it does definitely have its fans and it works, in my opinion, a little better with creams than soaps. And it does give you the tactile feedback to give you sort of the slickness of what you’re getting into on your hand.
However, it s not a very practical method if you are shaving as you sometimes need both hands.
Lathering Directly On The Skin
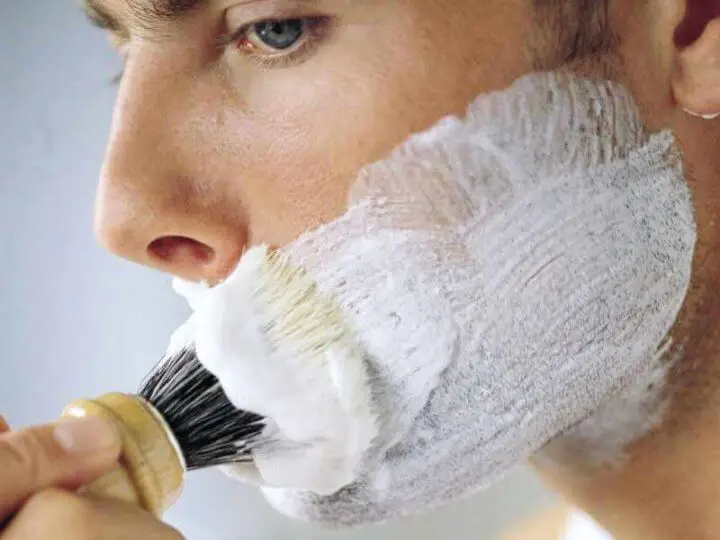
Lathering directly onto the face has some interesting benefits. Essentially you are building and applying the lather at the same time. This can be beneficial with providing extra help preparing the skin and softening the hairs to be cut.
Start massaging the brush on the face using circular motions and pressing the brush down slightly. Massage for about 30 seconds then dip the tips of the brush in water and repeat. It may take a couple minutes for the lather to build to the right consistency, depending on the type of brush, the type of product used, and the mineral content of the water. If you notice a “glob” of lather in a certain spot, raise the brush off the skin and lower it directly onto the “glob” and continue massaging.
You are looking for a shiny, somewhat “loose” consistency (runnier than what might come out of a can or brushless tube) with soft “peaks” (like a cake batter) without any bubbles. After you have reached that point you can switch from a circular motion to a painting motion to even out the lather layer.
Are There Shaving Supplies Near You?
If you are new to the idea of making traditional shave lather and you want to buy “old school” products locally, you may have some difficulty finding something unless you are in a large metropolitan area. Most “brick and mortar” choices will be very limited. The most common brand you will probably see is Van Der Hagen: they offer a decent shaving soap and a shave brush that is “adequate” for the job.
But unless you are in a large city with specialty stores, you will probably have to go to the internet to find good products, unless perhaps you have a shaving soap recipe and know how to make shaving soap. 🙂 Still, getting a shave brush is probably best left to the internet.
What About Vintage Shaving Supplies?
You might be tempted to check out antique shops for good deals on vintage shaving supplies. But I would advise against this, especially for the traditional wet shaving “newbie.” There are just too many variables to consider compared to purchasing new.
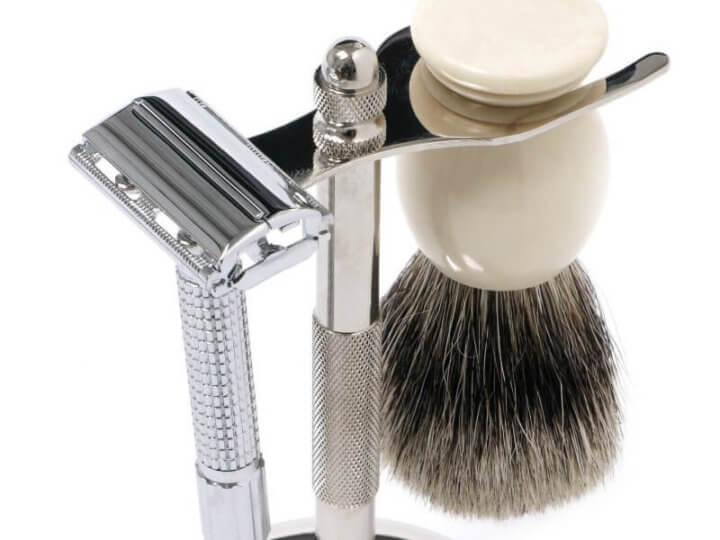
What kind of brush should you use for your shave?
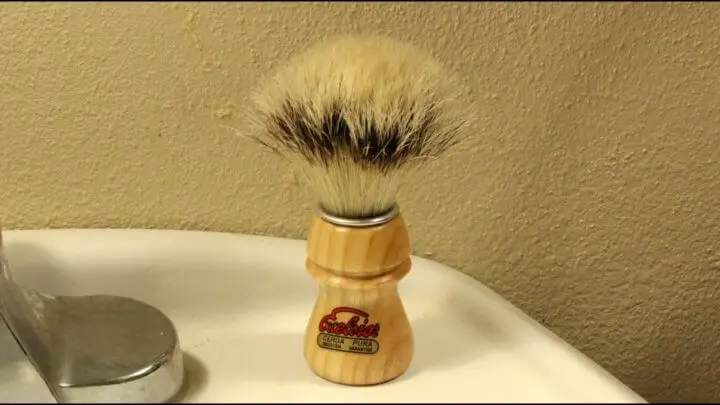
There are several types of shaving brushes you should know about. They fall under four general categories: badger hair, boar bristles, horse hair, and synthetic fibers. Hair/fibers vary (widely!) in density and length, and also how much water (and heat) they can retain.
Very broadly speaking you will probably find that badger hair and the latest generations of synthetic hair perform the best when making a shaving lather.
If you are completely lost click/tap here to learn a lot more about shave brushes and which are the best..
How To Break In A New Shaving Brush
Animal hair (badger, boar, horse) shave brushes can benefit from a “break-in” period to both reduce the wet animal smell (the “funk’) that can accompany a new brush and to prepare the brush for more efficient use. Before its first use a shave brush can often benefit from a shampooing, preferably with a product made for animals (a pet shampoo). The shampooing action with the hands should resemble a massage rather than a vigorous scrubbing. Be sure to thoroughly rinse the brush with warm water and let it dry before using (more on rinsing and drying below…).
Some have suggested that boar hair brushes may perform better after a cycle of soaking followed by a vigorous towel drying. Personally I found some benefit in this, if the brush is constructed well. But again, exercise reasonable care when drying, avoiding “burying” the brush hair in the towel.
Synthetic fiber shave brushes do not require a break-in.
The Mineral Content Of Water Can Make A Difference
This is often the biggest factor in building a good thick lather (other than soap quality).
If you find that you are really struggling to build anything worth shaving with it is worth checking your water hardness–the mineral content of your water.
Purer water typically has little or no calcium and magnesium in them, so it is unlikely to react with the soap or cream. Hard water, on the other hand, will usually have one or both of these minerals.
The solution can be to install a water softener, which can be expensive. Some people get good results from using distilled water however it can be a pain as you will have to warm up the distilled water to get ready for your shave.
A third option is to add just a pinch of Citric Acid to the water in the sink.
If one of these options appeal then you will have to persevere and work on your technique. It is still possible to generate lather but it may take longer and you may find that certain soaps and creams are simply not suited to your water type. That is where experimentation and trying different brands comes in!
Click/tap here for related post: Click/tap here to read “3 Shortcuts To Better Lather”
What About Water Temperature?
How does water temperature affect the lather? Directly, it doesn’t: you should be able to make a decent lather at any water temperature. In fact some shavers enjoy a cold water shave.
But warmer water does make hydrating the hair stubble quicker, so you can save time. And many shavers enjoy the luxury feeling of warm, fragrant lather on their skin, like a barber might!
Click/tap here for related post: “Do Skin Pores Really Open And Close? The Science”
Shaving And The Shave Brush
The shave brush is not only important before the shave, it’s also important during the shave. Shaving–especially “old school” traditional shaving–is accomplished in cycles or passes: shave with the grain, relather; shave across the grain, relather; shave against the grain.
You will probably find that, as the brush sits between passes, the lather has a chance to “percolate” and has a better quality (though as you spread it on the skin it make look a bit thinner–but that is probably due to having less hair for the lather to hold against).
Shaving Soap & Brush Cleaning After Shaving
Most shavers rinse their brush after every use, though there are some who advocate leaving it loaded. Here are the steps to keeping that brush in tip-top shape.
Rinsing The Brush
After you’re finished with your shave, rinse the brush thoroughly in warm water, gently “pumping” the water through the brush until it rinses clear.
Drying The Brush
Then–gently!–squeeze the water out of the brush and wipe it on a dry towel, “fluffing” the hair to break up any hair that might be clumped together.
Do not shake or “flick” the brush vigorously! Doing so may weaken the glue knot holding the hair into the handle over time: one day you may have a hairy projectile flying through the air!
Storing The Brush
After drying, store the brush where it can get some air circulation–don’t put it inside an enclosed cabinet. Then there’s the question about whether to store the brush with bristles up or bristles down (in a stand). Many advocate storing the brush with bristles down, thinking the moisture will fall away from the glue knot by gravity, keeping the glue dryer. Others advocate storing with bristles up, thinking that capillary action will “wick” moisture up to evaporate.
But most brush manufacturers recommend storing a brush on a stand with the bristles facing downward.
Helpful Advice for Better Results
Make sure you work past what some call the “proto-lather” stage. But how to make a good shaving lather beyond that is dependent on brush, water, and product. However you can get good lubrication and protection with a range of lather consistency.
How to make warm shaving lather? If you are using a bowl or mug, try soaking it in hot water for a few minutes, then drain and build your lather. The heat from the water will transfer to the the bowl, making the lather warmer, longer.
Common Questions About Lathering a Shave Cream And How To Make The Best Lather
When Is Your Lather Right?
There are some variations depending product, water, and brush but a good lather on the skin is often described as looking like a cross between pie meringue and yogurt.
Why Does A Good Lather Matter?
Simply put, a good lather will maximize the water-holding, lubrication, and protection aspects of the shave cream or soap you are using. Water does the “heavy lifting” in wet shaving, and lather keeps water (and other ingredients) against the skin.
What Is “Marco Method” Lathering?
When shave enthusiasts really get going on a discussion about how to make the best shaving lather, comments about the “Marco Method” usually appear. Considered a near-myth by some newcomers because it can be kind of hard to find recent authoritative information on the details, the “Marco Method” first appeared about 20 years ago. Paraphrased:
- Soak the brush for at least 30 seconds.
- Turn the brush upside-down without shaking it. Allow water to drain by gravity only (no shaking): the brush has to be kept full of water.
- Start loading the soap with swirling motions. Work slowly, without pressure on the brush. Remember that it should be very wet.
- Continue to load the brush for 45-60 seconds, making 100-120 swirls. Loading time is dependent on the size of the brush and how much water it can retain.
- Move the brush to the face and begin lather to the. Again, there will be a LOT of lather: it may get messy.
- While face lathering slowly and progressively add, a few drops of water to the tips of the brush.
- Continue to lather until it is the right consistency.
Quoted from the original entry: “The main concept to always keep in mind is simple: a lot of water + a lot of swirls + a lot of soap = a lot of great, thick, slick and effective lather. This lathering technique works very well even with hard, triple milled soaps. Exactly as described above, with the sole exception that I soften the surface of hard soaps with a dozen drops of water before starting to make swirls.”
Can You Use Shaving Foam With A Shaving Brush?
Broadly speaking you can use canned shaving foam (or gel) with a shaving brush. However there may be ingredients in the foam or gel that could damage animal hair so using a brush with synthetic hair is recommended.
However, all things being equal, shaving with a canned shave product is less desirable than using a lathering cream or soap. The propellants used in canned products tend to try out the skin and manufacturers then have to add additional synthetic lubricants to try to make up for the drying effect. These additional ingredients may not be good for the skin, especially if you experience problems with the sin.
How often should you change your shave brush? Do shaving brushes wear out?
Consider the shave brush a tool. The lifespan of a tool is generally dependent on how well it’s built, how you use it, and how you maintain it. A well-built brush from a reputable manufacturer, used properly, should last five to ten years of regular use.
Is Shaving With Castile Soap And A Brush OK?
Some aficionados have shaved with Castile soap successfully however some complain of a difficult-to-rinse residue from it.
Is A Shave Brush Worth It?
While the answer to the question of how to make the best shaving lather with a shave brush is largely “in the eye of the beholder” most people who try a shave brush like using it

I watched your YouTube video years ago. It is very good, and this article is a great update to it. Thanks a lot.
Best shaving article ,thank you
Comments are closed.