

You’re staring at a collection of small shave soap samples. These little guys, whether they’re pucks, slices, chunks, or shavings, can seem challenging compared to a full-sized tub of your favorite soap. Fear not! This post will guide you through the best methods for getting the most out of your samples, ensuring a great shave without any wasted product.
Key Tips for Success
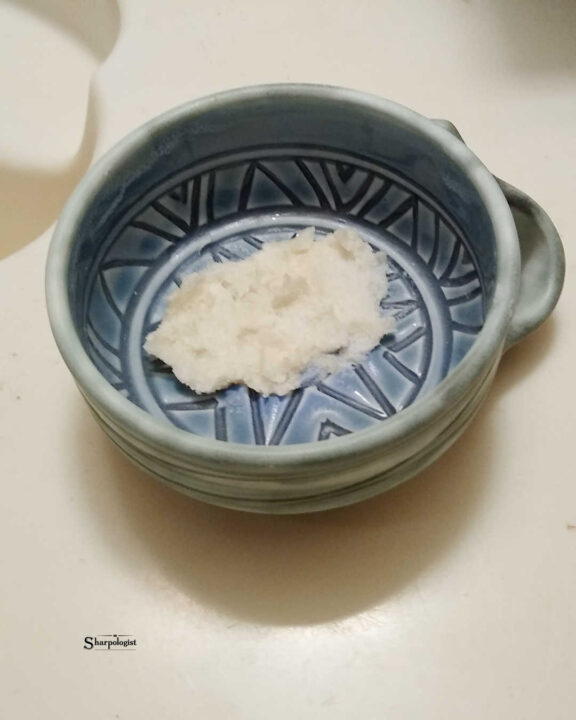
- Maximize Surface Area: The most important step when using samples is to maximize the surface area by pressing it thinly at the bottom of a bowl. This ensures that the brush can pick up an adequate amount of soap.
- Don’t Overthink it: If you don’t have a dedicated bowl, a wide coffee mug or cereal bowl will do the job.
- Don’t Be Stingy: It’s better to use the entire sample if it’s very small, rather than to try and conserve it. Many users recommend using the whole sample at once, especially if you’re testing a new soap. It’s better to have too much soap than too little.
- Soften Hard Samples: If your sample is hard, soften it with a few drops of water or by soaking it briefly before mashing it into a container.
- Hydration is Key: Add water gradually to the brush and the bowl while building the lather, ensuring you achieve the right consistency.
- Experiment: Every soap and brush is different, so it may take some experimentation to find the right amount of water and loading time.
- Practice: It takes practice to know how much soap is loaded. Pay attention to the way the soap and lather looks.
- Face Lathering: Face lathering can be a great method for sample use if bowl lathering is not for you. You can load the sample directly on the brush, or apply it directly to your face.
- Patience: Take your time, especially when first learning. Lathering is a skill that improves with practice.
The Challenge of Samples
Shaving soap samples are a fantastic way to explore different scents and brands without investing in a full-sized product. However, their small size and varied forms can present unique challenges when it comes to creating a rich, protective lather. Unlike full-sized soaps, which are easily loaded onto a brush, samples often require a bit more finesse. The key is to adapt your lathering techniques to the specific format of your sample, and to maximize the surface area for your brush to load from.
Understanding Different Sample Formats
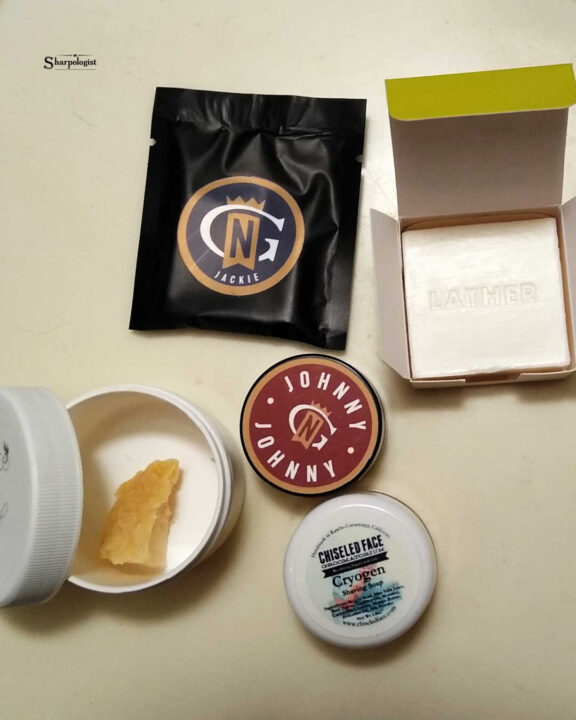
Soap samples come in a variety of forms:
- Small Solid Pucks: Often around 20g, these are the most common type of sample, but can be difficult to load directly onto a brush.
- Slices: These are usually thin pieces of soap cut from a larger puck.
- Chunks: Irregular pieces of soap that have been broken off from a larger mass.
- Shavings: Small, thin pieces of soap that often result from grating or scraping a larger soap.
Each of these formats can require a slightly different approach to lathering.
Essential Techniques for Lathering Soap Samples
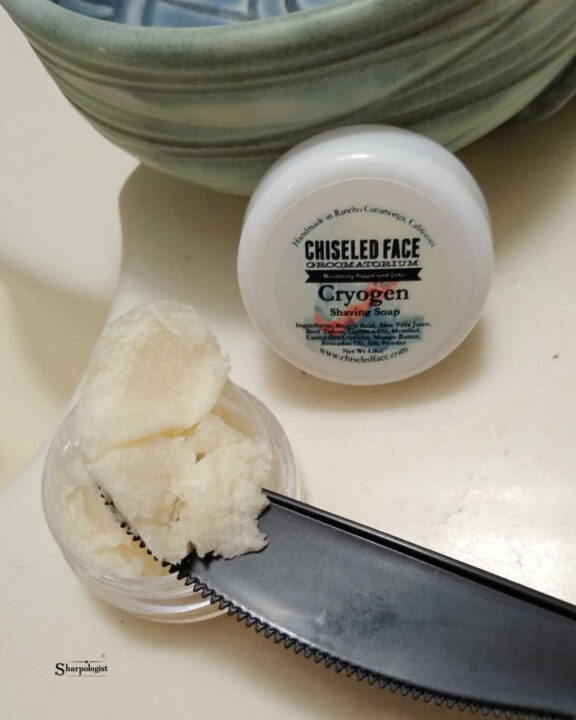
For getting the actual soap sample out of a small container I like to use a small plastic knife, running the knife around the inside diameter of the container then continue to use the knife to scoop the soap out. Here are some proven methods for handling various soap sample formats:
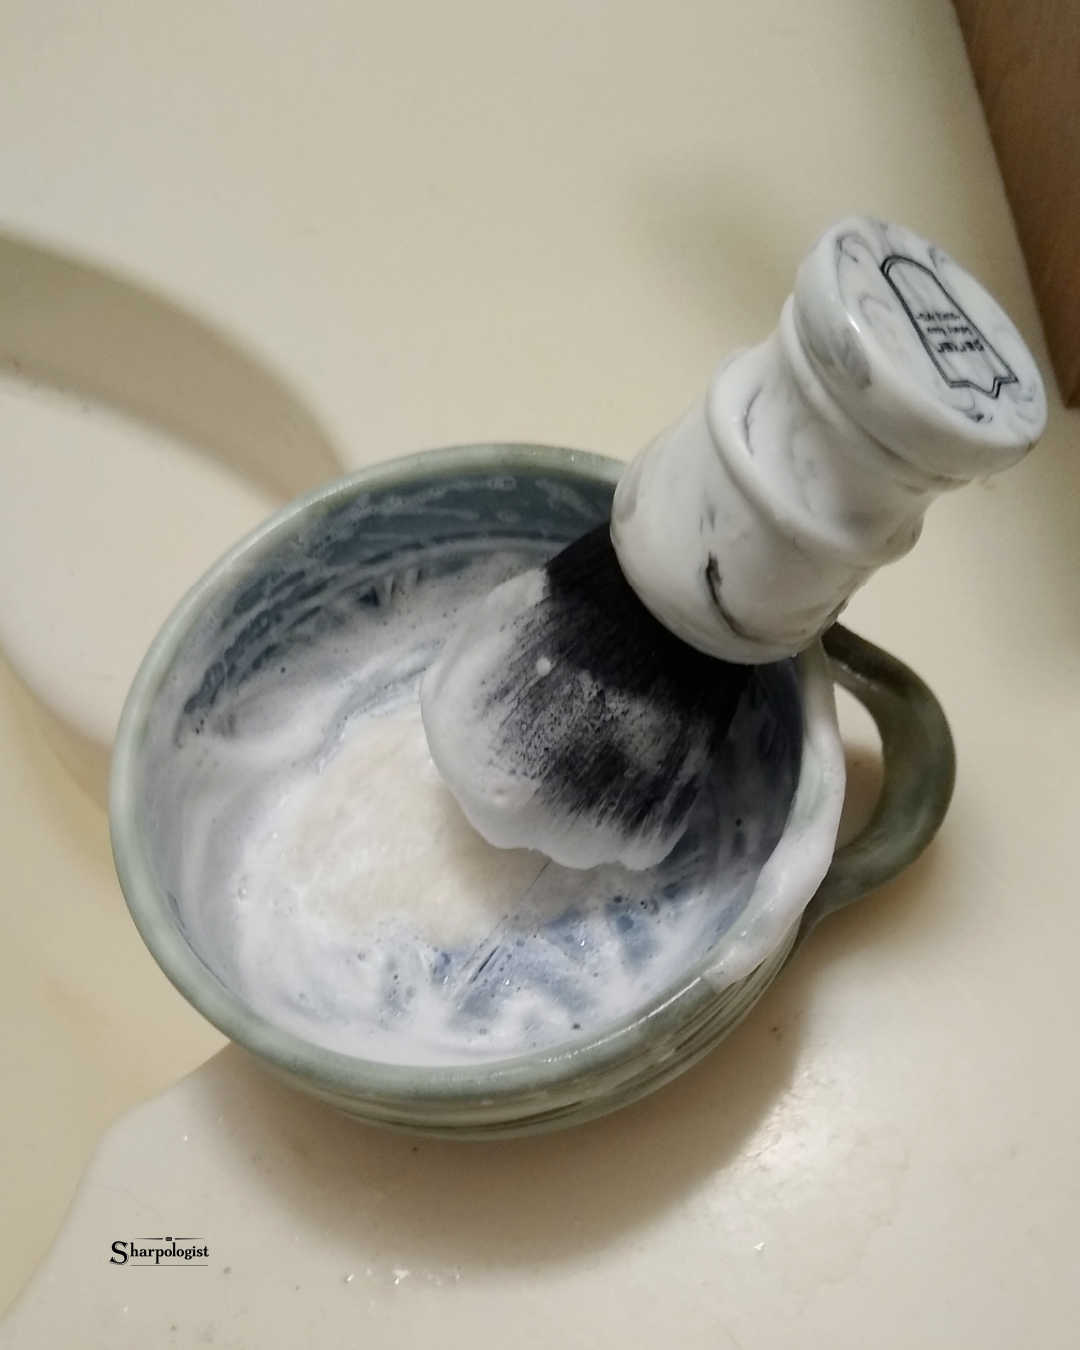
The Bowl Method: Pressing and Smearing
The most frequently recommended method involves using a shaving bowl. The primary goal is to increase the surface area of the sample for the brush to load.
Textured Bowls: If you have a bowl with a textured bottom, like nubs or swirls, that can assist in building a lather.
Water: Add water gradually to the brush and the bowl while building the lather. Some soaps may be “thirsty,” so don’t hesitate to add more water as needed.A shaving bowl offers better control, reduces mess, and allows for consistent lathering because it provides a stable base. It also helps to contain the soap and prevent it from moving around.
Face Lathering Method
Shave Stick Style: For solid pucks, another popular method is to rub the sample directly onto your wet face like a shave stick. This applies soap directly to your skin. After you’ve applied enough soap to your face, take your wet brush and begin building a lather right on your face.
Direct Loading on the Brush: Some users also load the soap directly onto the brush, then apply to the face to begin lathering.
Alternative Techniques
Melting: some recommend melting the soap sample in the microwave for 10 seconds to make it easier to manage. This can be useful for softening hard samples.
Scooping: some find success by scooping some of the soap out of the sample container and using a finger or utensil to smear it on the palm, then loading onto the brush. Others prefer using a fingernail or a pocket knife to scrape the soap.
Dedicated Containers: Some users will dedicate a small tin or container for soap samples. After loading, they rinse out the container with cold water to remove any residual lather, leaving the soap in place for the next use.
Understanding the Limitations of Samples
It’s important to note that some users feel that soap samples don’t always perform as well as their full-sized counterparts. Samples may be better for judging scent rather than the full performance of the product. But they still serve an important purpose: they allow you to try a scent or brand without fully committing to a full-sized container.
Conclusion
Shaving soap samples might seem like a small part of the wet shaving experience, but they offer a great way to discover new favorites, refine your shaving routine, and avoid wasting product you might not like. By applying these techniques, you’ll be well-equipped to handle any sample that comes your way, making each shave an enjoyable experience.
Have you tried these methods, or do you have your own favorite ways of using soap samples? Share your thoughts in the comments below!
