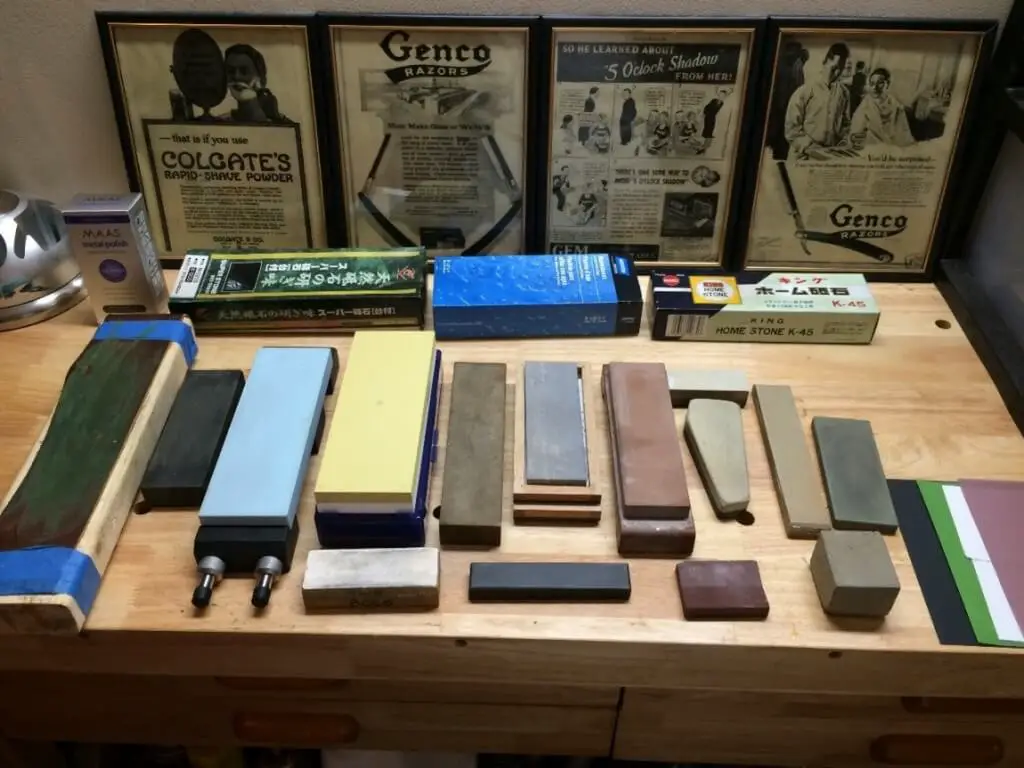
 Once you have experienced shaving with a straight razor and understand how it works, you’re ready to move to the next step–honing!! The process of honing a straight razor is the most debated part of the entire sport of wet shaving. There are many different ways/processes to get to the desired result…a “shave ready” straight razor. Learning how to hone is complicated but not as complicated as you may think. We’ll go over the equipment you’ll need in this article and my next article will go through some basic techniques to get you started.
What is Honing?
Honing: To sharpen a blade with a series of whetstones or similar abrasives removing mental and polishing until the blade is “shave ready”
A basic definition customized for straight razor use. Pretty simple huh? Then why is there so much debate?
The answer….. Honing a straight razor is a tad personal in the sense of identification. When one hones a razor, the edge he or she leaves behind is almost a part of them. Some users feel they can identify a “honemeisters” (Self-appointed term for those who hone razors) edge just by shaving with it. Most honemeisters feel a sense of ownership with their edge and can take offense to those who feel their process is not right. Probably the reason for all the debates.
The process of honing can take years to master. While you may be able to achieve a “shave ready “edge after some practice it will take much longer to achieve “your” edge.
Honing Terms:
Before we move on its crucial; to understand the common terms and abbreviations you’ll see when searching the forums.
Here is a list of the most common abbreviated terms in honing:
- “Shave Ready”: A straight razor that has completed the entire honing process and is sharp enough to comfortably shave one’s face.
- “HHT” or “Hanging Hair Test”: Measured in a scale of 1-5 and performed by taking a single strain of hair and slicing it on a straight razor blade. Measured in a scale of 1-5 by the ease of the slice.
- “X-Stroke”: process of honing a razor over a series of whetstones or similar abrasives that resemble the shape of an X.
- “Honemeister”: Self-appointed role of one who successfully hones straight razors to “shave ready” status (not an official title in the wet shaving community)
- “TPT”: Thumb pad test. Used to test the bevel set of a straight razor by lightly pulling the thumb across the blade.
- “TNT”: Thumb nail test. Used to test the bevel set of a straight razor by gently guided the blade over the thumb nail.
Different Types of Honing Abrasives:
There are many different tools to get your straight razor “shave-ready”. Whether or not one tool is better than another takes time and a lot of experience to determine. Here, we’ll discuss all types of components that have been proven to hone a razor without biased. For arguments sake we’ll call these components “abrasives”.
Wet-Sand Paper:
Ah wet-sand paper. A usual first choice when one learns about honing straight razors. A simple search on the internet a few thoughts and you’ll find yourself walking down the auto body repair aisle looking for sandpaper ranging from 1000 to 13000 grit. Seems like a great idea doesn’t it?
Wet-sand paper is the most affordable method of honing and may be the hardest to master. Let’s go over how to actually use sandpaper as a hone:
First, you need an extremely flat surface. A piece of glass is the surface of choice. Once you have that then you need to attach the paper to the glass. You can use tape, but make sure the paper is completely flat. If there is any bubble or crease you will rip the paper and will have to start over again.
Is it possible to hone a razor this way? Yes of course, but it’s not recommend for the beginner and most pros won’t bother with it. The reason: There are too many factors for failure.
Lapping Film:
 Lapping film has generated a lot of attention in the past 3-5 years. Many people have switched to lapping film from more traditional methods and have shared their results in multiple forums and websites.
So what is lapping film? Here’s the definition in a nut shell:
Lapping Film: a precision polyester base coated with minerals such as diamonds, aluminum oxide, silicon oxide, silicon carbide and/or cerium oxide originally used to process and polish optical fiber connectors to ensure efficient light/signal transmission.
In short, originally lapping film had nothing to do with straight razors or sharpening in general. A wet shaving forum group decided to try lapping film because of its precision with very delicate parts of electronics. They figured if it can work with fiber optics then why not blades? They were right.
Lapping film is measured in microns. We discussed microns in “The Guide to Straight Razor Strops” some time ago when measuring abrasiveness with diamond pastes. Same concept here.
Honing with lapping film is basically the same concept as wet-sandpaper. First, you’ll need to attach it to a flat surface (glass is best). Some lapping films have adhesive backs so all need to do is stick it on and away you go. If it doesn’t or if you want to use multiple sheets when honing a little water on the glass will help the film stick.
Since the grit is measured in microns it’s a little confusing to choose the size for each progression of honing. Don’t worry, we have you covered. Here is a chart that converts it for you:
| 100,000 | 0- 0.5 | 1/4 |
| 60,000 | 0-1 | 1/2 |
| 14,000 | 0-2 | 1 |
| 13,000 | 1-2 | 1.5 |
| 9,000 | 2-3 | 2.5 |
| 8,000 | 2-4 | 3 |
| 5,000 | 2-6 | 4 |
| 4,500 | 4-6 | 5 |
| 2,800 | 5-10 | 7 |
| 1,800 | 6-12 | 9 |
| 1,400 | 8-20 | 14 |
| 1,200 | 10-20 | 15 |
| 1,050 | 12-25 | 18 |
| 800 | 20-30 | 25 |
When setting the bevel of the razor you’ll want to start at the 18 micron size and move your way up.
Now to answer our original question: “Does Lapping Film Really Work?” Yes indeed! Lapping film works incredibly well and will achieve a “shave ready” edge just like the other methods. It’s probably best to buy extra sheets when starting as lapping film requires a delicate touch and more preparation that only experienced hands can handle. Damaging the first few sheets is common but once you’ve mastered the preparation process the film will last a decent amount of time.
The best part of lapping film is that it’s very cheap. A complete starter set will cost you under $25. That about 10% of what a set of conventional stones will put you back. It’s definitely worth a try.
Natural Stones:
The next item used for honing is the oldest form out there. Natural stones were the most widely used stones until about 10-15 years ago when straight razors made their resurrection with the help of a few key pioneers and the internet. Bear with me ladies and gentleman, this is where it gets a little complicated.
Natural stones vary in many ways. First they have no abrasive particles therefore there is no way to accurately measure grits but they are abrasive. Second, each stone can vary. We’re not just talking about different types of stones but even stones of the same category can vary. Third, these stones require certain skills to use them effectively. Some require a “slurry” to drop raise the abrasive level some do not. We’ll go over slurry and how to use natural stones the next sections.
There are several types of natural stones. For arguments sake well go over the vast majority of them in easy to read format:
Belgium Coticule:
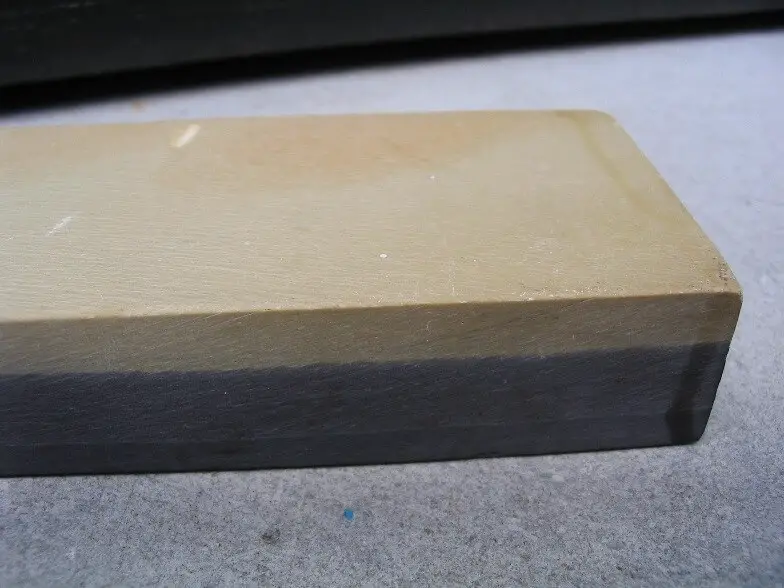
One of the most popular natural stones out there, the Belgium coticule has been used for fine tool and razor honing since the 1700’s. These stones are excellent for producing razor sharp edges and properly maintained can last a lifetime.
Coticule: Latin word for “whetstone” ultra-fine whetstone found in the Ardennes Mountain region of Belgium
These stones were once distributed all over the world, but are now only harvested and produced by one maker located in the Ardennes mountain range of western Belgium. Click here to find out more about this historical mine. Coticules are known for their yellowish coloring and are usually backed by a piece of “non-functional” slate which helps support the very delicate stone.
Coticules are sold in three distinct grades. “Select” or stones that have no cosmetic flaws, “standard” or stones that have slight cosmetic flaws and “Kosher” for perfect stones. The cosmetic flaws do not affect the performance of the stones and buying a standard stone is great way to save some funds as once you start with these stones you’ll want more. “Kosher” coticules are among the rarest and most expensive.
Producing a coticule stone is a very difficult process. It requires a lot of time and much of the stone is lost in the process to make a perfectly rectangular stone. As the demand rose for these precious stones smaller, odd shaped stones or “bouts” emerged the scene. “Bouts” which means “pieces” in French compose of 96% of today’s coticule inventory. You can purchase these stones at a much lower price and no two stones are shaped alike so their very unique.
Coticule Bouts are numbered according to size. Here is a chart that explains the bout numbering system.
You’ll often hear on the forums members speaking of the different veins (or layer of rock) of coticules and how one is better than another and so and so on…….Identifying a coticule by its vein hard to determine and is best left for the experts.
Some of you may be lucky enough to find a “Les Latneuses” or natural combination of both coticule and Belgium blue whetstone. This stone does not need a slate backing and combines two of the most popular razor hones out there. They are very rare and can be quite expensive but are sought after by users and collectors alike.
In order to conclude our coticule guide it would only be fair to mention the different honing methods/procedures unique to these stones.
Using a coticule is similar to many other whetstones with the exception of using a “slurry” which is a milky substance formed when rubbing two stones together. This increases the abrasiveness of the stone and creates a lower “grit” rating per se. As you progress you want to add more water creating a less abrasive (higher grit) surface. Eventually you’ll be honing without slurry and only water.
There are two distinct methods that some use when honing on coticules.
- Unicot Method: Requires using electrical tape after setting the bevel to create a secondary bevel. This allows for more emphasis on the tip of the bevel.
- Dilucot Method: Starting out with tape during the bevel set stage and diluting the slurry with water in several stages. This is by far the most popular method.
There are many ways to hone a razor but many will agree, it’s a lot of fun with a coticule. There are several dealers that sell these stones in the USA and abroad.
Belgium Blue Whetstone:
The “Belgium Blue Whetstone” or “BBW” is known as the more “abundant cousin” to the Yellow Coticule. The BBW is a layer of rock that surrounds the “coitcule veins” This particular rock is more abundant then the coticule it surrounds leaving it more affordable to the consumer.
The honing process with BBWs requires more patience then that of a yellow coticule but delivers a perfectly shave worthy edge, although most will agree that the coticule is better for the job. When using these stones its recommend to start with a “slurry” and dilute it as the edge becomes sharper until you are using straight water much like “dilucot” method.
German Thuringian: 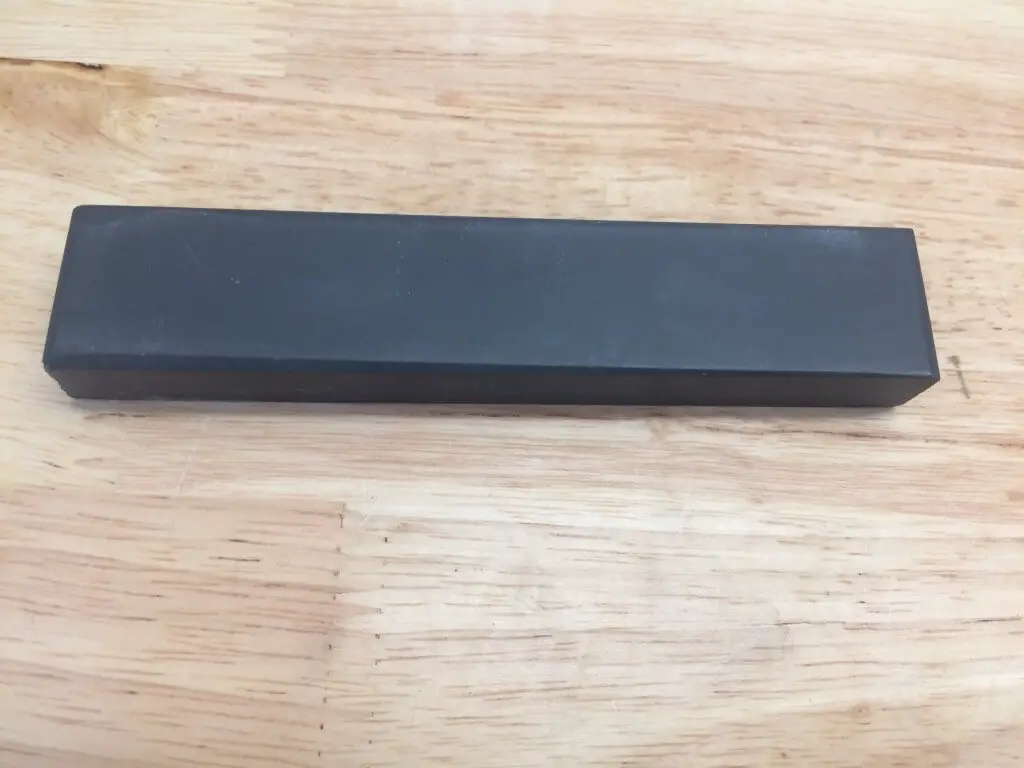
Straight from the mountainous region of Thuringia Germany, it’s impossible to have a conversation or honing debate without mentioning the famous “Thuringian” water hones. These stones consist of a quartz/chlorite slate that is relatively soft and carry an abrasive quality perfect for the fine edges of razors and woodworking tools. While there were many companies that sold these stones, the most famous was “Escher”.
Most people misconceive the word “Escher” with an actual “type” of whetstone in general. In reality the term “Escher” refers the popular company ”J.G. Escher” that harvested and distributed Thuringian stones all over the world. The truth of the matter is this:
“All Eschers are Thuringians but not all Thuringians are Eschers.”
Let’s take a look at some Escher history.
“J.G. Escher” was a company that harvested and sold high quality whetstones that were very popular for woodworkers and barbers alike. Founded in 1789 by Johann Gottfried Escher, the company did not start producing whetstones until the early 19th century. In the early 1920s the company split and soon after began producing processed “artificial” stones with synthetic materials blended with the left over dust that was produced when harvesting natural hones. The final Escher hones were produced in 1953 when the last branch closed permanently.
Identifying the different grades of Escher stones is done by color coding. There are four major categories:
Dark Blue: Contains the most quarts, most abrasive and most common.
Blue/Green: Moderate quartz level, moderate abrasive and common
Light Green: Lighter quartz level, fine, and rare
Yellow Green. Least quartz level, very fine and extremely rare.
You may be asking yourself…. “What makes these hones so great?” Escher (Thuringian) stones are very fine which leaves a very smooth surface thus a sharp edge. These hones provide a great finish for any tool that requires razor sharpness. You can use these stones with or without a slurry and properly maintained can last a lifetime.
The only downfall is the recently popularity in owning an Escher hone. This has forced prices to rise and Escher hones are now considered
to be some of the most expensive straight razor hones in the market. It’s not uncommon to see some go for $500-$1000 in some eBay auctions.
American Arkansas: 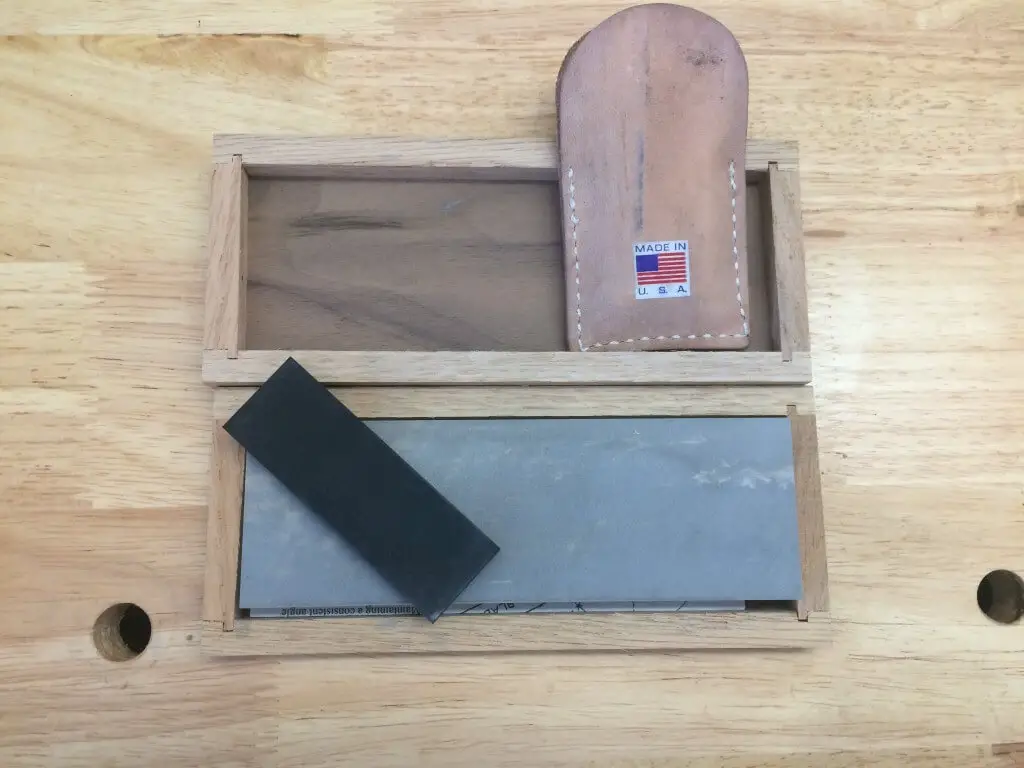
The one and only the American Arkansas whetstone has been keeping Americans sharp since the early 1800’s. These stones are located in the Ouachita Mountain range which stretches east of Hot Springs Arkansas from a silica rock formation known as “Novacula” which comes from the Latin word “sharp knife”.
Without getting into extreme detail, there are three grades of Arkansas stones which are classified by the “hardness” factor. There are 3 Categories of hardness:
- Soft Arkansas: Medium abrasiveness. Mildly aggressive and used for knives.
- Hard Select Arkansas: Fine abrasiveness. Used for wood carvers and knives
- Black or Translucent True Hard Arkansas: extra fine abrasiveness. Used for final polish on straight razors and scalpels.
These stones are recommend to be used with oil but you can use water as well. They tend to cut very slowly and are often not used for straight razor honing for that reason. Still, many have shared favorable results using these stones.
Welsh Slate (Dragon Tongue):
A basic slate hone, the Welsh “Dragon Tongue” hone is a fine stone that’s quarried in the UK. These stones can be used with both oil or water and work as a finisher in the final stage of honing. Dragon Tongue stones vary in popularity depending on who you speak with, but perform well when used properly. There is currently only one producer of this stone today and it is available in limited quantities.
Chinese Natural:
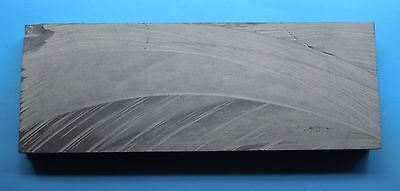 Arguably the most affordable entry to natural hones the Chinese natural is a bargain. These stones come in a multitude of sizes and are afforded directly from the source of through third party retailers.
The Chinese natural honing stone is harvested out of the Guangxi providence of China. Rated in a variety of grits, these stones require little maintenance after lapping and can easily provide years of constant use. They are one of the few natural whetstones that are classified in grit measurement. Be aware when purchasing as all natural hones vary in abrasion.
Seems too good to be true? It’s not really. While these stones work well with finishing straight razors, they are extremely hard and require a lot of time to the same results of other natural stones. Most will agree that if your patient you can achieve an excellent edge.
Charnley Forest:
These stones are straight from the Charnwood Forest of Leicestershire, England. They come in several different colors and a multitude of sizes. The best way to identify this stone is the pinkish slurry produced when rubbing two stones together.
Although difficult to find they are still available on secondary sale sites. Some find these stones to be similar to Coticules, some say Thuringians. Although these stones are still available, they remain very rare.
Zulu Grey:
Straight from the province of Kwa Zulu-Natal, South Africa, the Zulu Grey whetstone is ideal for the finishing stages of honing. These beautiful hones are very hard, dense and provide an exceptional edge when used as a finisher after a series of synthetic whetstones.
Zulu Grey whetstones are readily available and start at around $100 usd. You can purchase them directly from the source https://zulugrey.com/.
Japanese Natural: 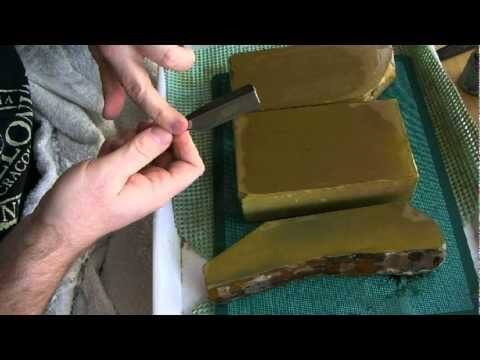
Our final natural stone needs no introduction. Japanese natural stones are by far the most beautiful stones out there. These hones can vary in quality and cutting ability so it’s very important to do some research before going all in. Originally used for sharpening samurai swords, “JNATS” are used to sharpen anything with cutting ability.
It’s important to understand how JNATS are classified. There are over 20 quarries harvesting these stones from 7 layers of rock (Strata) so it’s very easy to get frustrated when trying to purchase the right stone. Don’t worry, we’ll cover the basics with you!
The most important aspect to look at with these stones is the hardness factor. Softer stones which are usually harvested from rock closest to the surface are recommended for kitchen or pocket knives while stones harvested from deeper in the earth are usually much harder/finer and are perfect for tools that require a very precise and sharp edge such as scalpels and straight razors. Check out this site for more information.
Honing with a JNAT is much like a Belgian coticule as you would create a slurry with another piece of stone lowering abrasion and then adding water as you go until the razor is “Shave ready”. These stones do have a larger learning curve than the coticule so take your time with it.
Be very careful when purchasing JNATS. It’s very easy to purchase the wrong stone as some of the descriptions are a little complicated. Always go through a reputable vendor and ask a lot of questions. Prices fluctuate with JNATS more than any other stone out there and it’s easy to spend hundreds of dollars on a stone that doesn’t work well with straight razors. Prices range from $$ to $$$$.
Synthetic Stones:
That brings us to synthetic stones. These stones are completely man made from mostly manufactured products. They’re measured in grits (particles per 1 square inch), processed together and cut to various sizes and shapes.
Today synthetic stones are the most popular for beginners and professionals alike. These stones are very consistent, very easy to learn and cut very fast. Being man-made makes them always available.
Probably the only negative thing about these stones is that they can be expensive. A starter set can run around $200-250 which will include several stones that will get you shave ready in no time at all. There are cheaper sets that contain narrower stones but you’ll soon learn that added real estate is worth its weight in gold.
Most synthetic stones require the same techniques when honing. We’ll leave that for the end. Don’t worry, we didn’t leave anything out.
Water Stones:
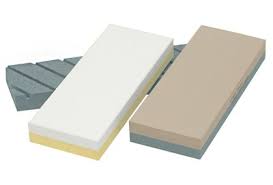 By far the most popular hone out there, water stones are perfect for beginners and experts alike. They’re readily available, easy to use and are fast cutting.
Most water stones are made of aluminum oxide particles which are then compressed and bonded with a compound to keep everything together. The particles are mixed with the compound, then set to dry and cut when the time is right.
Some popular companies that manufacture water stones are Norton, King and Naniwa. They all produce similar hones in grit and quality. Although many have their favorites most will agree that the Norton Series is the most popular.
While most of us love how easy it is to use the water stone if it’s not properly maintained your water stone isn’t going to work properly. Water stones tend to concave the fastest out of the stones in our experience, so it’s very important “flatten” them regularly. Refer to “Maintaining Your Stones” section of this article for more information.
Ceramic Hones:
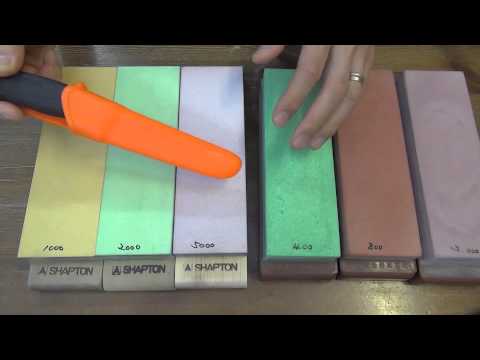 Ceramic stones have proved to past the test of time in the straight razor community. Their high grits and overall hard surfaces provide a durable and long lasting finish. These hones can go long periods without lapping and as long as their cleaned can last a lifetime.
The process of making ceramic hones is similar to that of synthetic.
The stones consist of aluminum oxide or silicon carbide compressed in a ceramic bond. This process makes an extremely hard stone rated at 9.5/10 on the hardness scale where synthetic stones rank at 7.5/10 and steel at 6.5/10. The result an extremely hard surface that is generally very smooth.
While these stones may be the hardest, they remain extremely brittle. Dropping these hones can result in disaster, be careful. There are two popular producers for straight razor users; Spyderco and Shapton. Both deliver great results.
Using these hones are similar to the other hones mentioned previously. Water is a popular lubricant but some have reported good results with oil.
Diamond Hones:
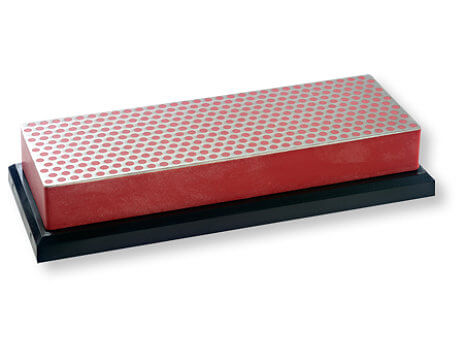 Diamond plate hones are made by a process that takes abrasive shavings of real diamonds and compresses them into a plate made of nickel. It’s important to keep these hones well lubricated with water and to clean them after every use to prevent clogging. Levels of abrasion are easily identifiable, buy the use of colors and terms such as “extra fine” and so on.
Diamond hones are great for setting bevels, removing chips or other damage from a straight razor blade but are a tad coarse for regular honing. Most will agree, that their primary use for a diamond hone is to flatten their whetstones. We’ll go over this process later on in this article.
By far the most popular diamond plate hone is the old reliable DMT. Widely available, affordable and they get the job done. Most of the DMT hones are made in the USA.
Barber Hones: 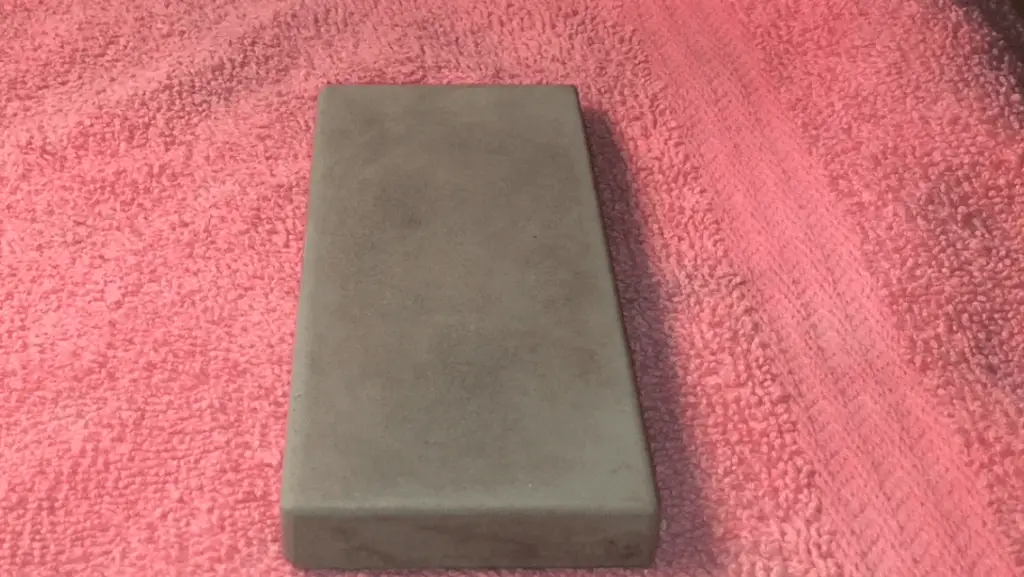
Barber hones were made by dozens of manufactures and sold with the intent to keep straight razors sharp. A simple eBay search will tell you that these stones are far from extinct and very abundant in the secondary market.
Most barber stones are tiny, usually no more than 2 inches wide by 4 inches in length. These stones are extremely hard and have two distinctive sides “coarse” for dulling razors and “fine” for maintaining a sharp edge. There’s no special technique when using a “good ole’ barber’s hone”. 25-30 strokes will usually keep you shaving. Many barbers were known to use actual shaving “lather” as a lubricant but straight water seems to work well too.
Barber hones soon fell out of fashion in the mid-20th century when straight razors almost became obsolete. As of today no company has resurrected the idea of making a classic barber hone but that’s not to say we won’t see one in the future. These hones can maintain your razor for months, but it’s important to know that they are not able to set a bevel.
Maintaining “Flattening” Whetstones:
Before we move on to the actual process of honing, it’s important to know how to make your hones flat. When you first purchase a whetstone, or after you’ve used it for a while the stone can become slightly concaved in the middle. This is natural and there isn’t much you can do to prevent it. Brand new whetstones may seem perfectly flat but chances are they’ll need some flattening.
The process of flattening is a fairly simple but tedious process. There are several variations but we’ll go over the most effective. The “Gridline Method”
The “Gridline method” for flattening stones requires a ruler, a pencil an abrasive that’s around 220-500 grit (DMT or flattening stones work best) and a sink full of water.
You simply take the ruler and draw a series of gridlines on the surface of the hone until it looks like graph paper. Next soak your stone in the sink for around 15 minutes (if your stone does not require to be soaked then you may omit this step). Once soaked take your 325-500 grit abrasive (DMT 325 works great) and affix it to a stone holder or anything that will keep it from moving and submerge it to the bottom of the sink. Take your whetstone and rub it over the DMT (or similar abrasive) over the whetstone until the gridlines are gone.
You can perform this process with wet sandpaper, and there are other variations but most whet shavers will agree this is the fastest most effective way with little chance of drying out and damaging your stones.
Next up: the process of honing! LINK

Excellent article! I found this page while looking for info on an old barber’s hone I have from around 1917. It’s 2″ x 5.5″ with a clay color on one side and grey on the other. Here’s a link to the very item. Not mine, but the same one: https://www.worthpoint.com/worthopedia/genuine-king-midas-razor-hone-stone-1979676943
DO you have any idea of what the grit might be on these things? I have a 12-15k ILR for finishing but would be great fun to use this as a first step. wishing it were about an 8k. is there any way to know?
Hi, Joe. Awesome guide to straight razor honing. Basically, I use American Arkansas stone for my knives. This really helps me a lot.
Comments are closed.