


There are places on the face that are always a challenge to shave, from beginners to even the hard-core shave nerds. Here is some advice on how to deal with shaving the “nooks and crannies” of the face.
Preparation And General Technique
Shaving those nooks and crannies means concentrating on specific, small areas, but there are also several general strategies you can follow to make the job a little easier.
The first is making sure you have prepared the area well. A gentle cleaning with lots and lots of warm water will go a long way to making the hair softer and easier to cut. I’m usually not an advocate of pre-shave oils but “nooks and crannies” are places that can benefit from a little extra lubrication. Give pre-shave oil a try, but don’t substitute oil for careful preparation.
Second, a really good shave lather is important too. Use a quality shave product–don’t settle for some pressurized foam from the discount store. Broadly-speaking, good traditional lather shaving creams offer a bit of extra protection; good traditional lather shaving soaps cut a bit closer. Many find it effective to shave the most difficult areas last to allow maximum lather penetration of the area.
Third, shave with little or no pressure and at the right angle. A common problem is to unconsciously press harder on the razor, thinking that it will get more stubble. The opposite is true–shaving with very little pressure is more efficient.
A complicating factor with many cartridge razors is the size of the cartridge. Multi-blade razors with four, five, or six blades (or more!) can make getting into tight areas a real challenge. Opt for a razor with fewer (or one!) blade or at least a cartridge that offers a trimmer feature.
A “multi-pass” shave can be an effective way to get at a nook or cranny comfortably. If the cut is inconsistent, that’s OK–you can relather and repeat the stroke from a different direction, reducing the stubble in stages.
Don’t rush! Shave using short, light strokes to help prevent cutting yourself.
If at any time you feel the blade flex or pull/tug on the whiskers, stop and decrease the blade pressure and resume with a lighter touch.
You may find that using the razor at different angles may help you reach any difficult areas.
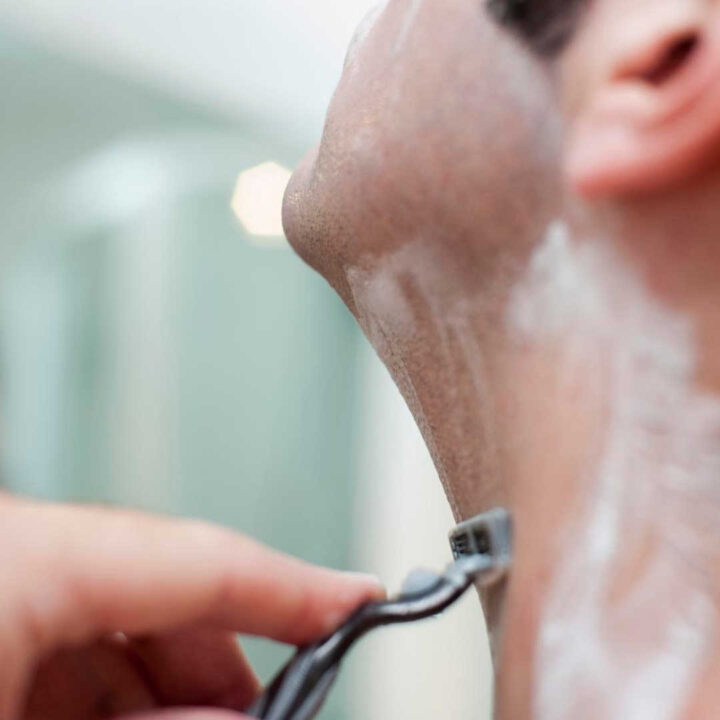
The Chin
The obvious problem with the chin is it’s shape. With all the curves and dimples in the area, getting a razor to shave consistently can be a challenge.
This is one instance where a pivoting razor head can help, but it’s best not to rely on one either.
Another problem is the tendency for the chin area to have the toughest stubble, particularly for older men like me. The chin usually starts greying before other parts of the face and the character of the hair changes. Save shaving it for the last thing of the pass.
When it comes to actually shaving the area, there are a few techniques that can work well. The first is to examine the area closely and try to shave along the flattest segments. Gently curling your lower lip can help flatten part of the area to some extent but the best strategy is to not follow curves, even if you have a razor with a pivoting head. That means taking shorter strokes around the most curved areas.
Finally, near the finish of your shave you can feel around the area and just touch up those spots that may still be a little rough. Spot-lathering and shaving with a very light, quick buffing action with the razor can tidy up the area. But be sure to do this just once–repeating a touch-up on the same area will almost certainly result in a nick or razor burn.
The Adam’s Apple
One common technique with dealing with the Adam’s apple is to swallow and try to hold the swallow. You won’t be able to hold it for more than a second or so but that should be long enough to make a shaving stroke on the area.
Another alternative is to carefully slide the skin over the Adam’s apple to one side before shaving the area. The effect is that the hairs that typically reside on the Adam’s Apple are now stretched out to the flat areas of your throat, on its left or right side. While the skin is stretched off the Adam’s apple, shave and then release the skin, which will result in the patch of skin over the Adam’s apple being more closely shaved. Be careful not to over-stretch it though.
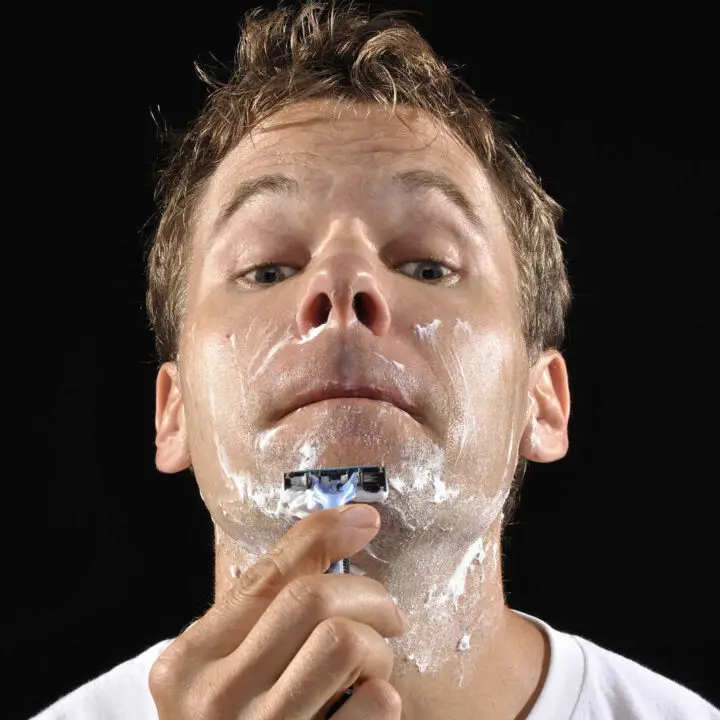
Under The Nose
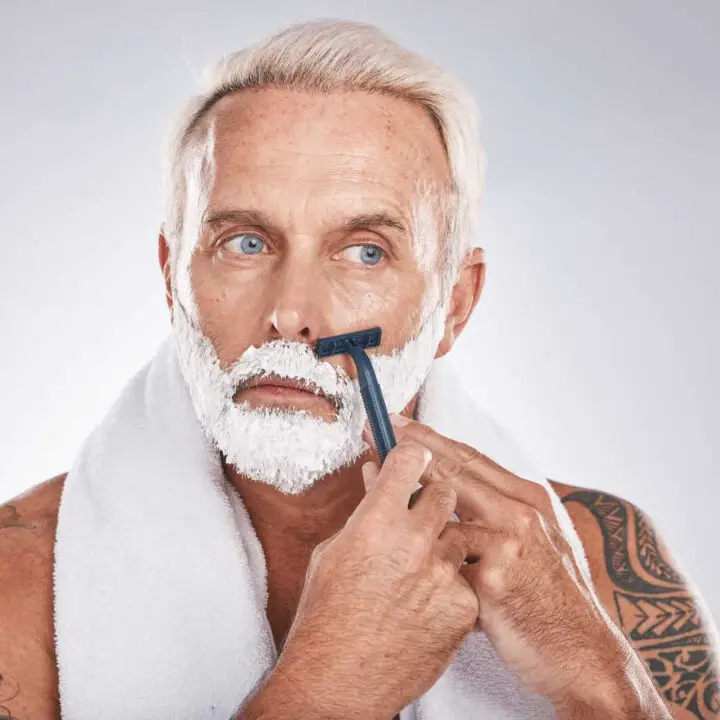
A “multi-pass” shave can be an effective way to get at under the nose comfortably.
More importantly, flattening the area as much as you can will help the razor make a good cut. Curl your top lip down towards your teeth to flatten the area. Then press your bottom curled lip up to meet it – you should look like you have no lips. Another trick is to use your tongue inside your mouth or by trapping a pocket of air in your mouth, between the teeth and upper front gum line.
Alternatively–or in addition to!–the suggestions in previous paragraph you can gently push your nose to the side or upward, allowing you to shave the middle part of the upper lip under the nose.
For the first pass, shave under the nose straight down. Don’t worry about getting every last bit–just get off the worst of it. Afterwards give your face a quick splash with hot water to keep it moist.
Relather and use the second reduction pass to shave outward from under the nose to just beyond the corners of the mouth, orienting the blade vertically. Don’t be afraid to move your nose to one side so you can get better access to the area under the nostrils.
Another splash of hot water then relather for the next pass–this time shape from just beyond the corners of the mouth to the middle under the nose. Again, orient the blade or cartridge vertically, and move the nose to the side to get better access if needed.
A final splash of water and lather application then try shaving upward from the top of the upper lip to the tip of nose. Be careful at this point as this is probably the most likely time to give yourself a nick or cut. if you do still get irritation you might not be able to shave in this direction.
Some cartridge razors have a trimming blade on the back. If you have one this is the point where you want to use it, orienting it as needed to get any remaining bits of stubble.
Summing Up
Shaving the nooks and crannies of the face is a skill that can be mastered with practice and the right techniques. By following these tips, such as using a sharp razor, applying gentle pressure, and using short strokes, you can effectively navigate those hard-to-reach areas. Remember to always take your time and be patient, as rushing through the process can result in nicks and cuts. With consistent practice and attention to detail, you will soon become adept at shaving every corner of your face with ease.


Another great article. Light pressure and a multi lather & pass approach works well for me.
The best way to shave under the nose is to never let the top cap leave the skin. The top cap is smooth for a reason. On my third pass I use the top cap (riding the cap GEO FATBOY taught me that) to guide me to not hack-up, slice or nick my face.
FEEL the BLADE!
Great read. As the lines in my face grow deeper, I’ve had to switch to a slant 4/7 shaves, to get the BBS
Excellent article. The edge trimmer on some cartridges is the best advance in shaving technology since the invention of the double edge razor by King Gillette.
Another technique I use with every shave especially for the area under the lips which tends to curve in is to press the lips together and forcefully puff out the skin between the lips and the chin as much as possible. The exposes that are and curves out the skin to make it accessible. I do that for the area around the jaw. Just forcefully puff out the cheek to make it curve outward. This exposes more of the stubble and makes it easier to remove with your razor.