Struggling with unwanted facial hair can be a daily battle for many women. Dermaplaning has emerged as a popular method to achieve smoother skin, removing both peach fuzz and dead skin cells.
This article will dive into the nitty-gritty of dermaplaning vs traditional shaving, guiding you to the best choice for your skincare needs.
Key Takeaways
- Dermaplaning uses a surgical blade to remove dead skin and fine hairs, providing deeper exfoliation than shaving, which leads to smoother skin and better absorption of skincare products.
- Unlike dermaplaning done by trained professionals, shaving at home with regular razors may pose risks like cuts or irritation but can still effectively remove facial hair.
- Professional dermaplaning is more thorough with sterile equipment and includes proper pre- and post-treatment care compared to at-home methods that require careful execution by the user.
- Taking care of the skin before and after dermaplaning or shaving is essential; it involves cleansing, avoiding harsh exfoliants, moisturizing post-treatment, and using sunscreen for protection against UV rays.
- Deciding between professional dermaplaning or at-home options depends on individual preferences for convenience, cost-effectiveness, safety, and desired skincare results.
What is Dermaplaning?
Dermaplaning is a skin treatment that uses a surgical blade to remove dead skin cells and vellus hair, resulting in smoother and brighter complexion. It’s popular among women for its exfoliating benefits and ability to reduce the appearance of acne scars and fine lines.
Procedure
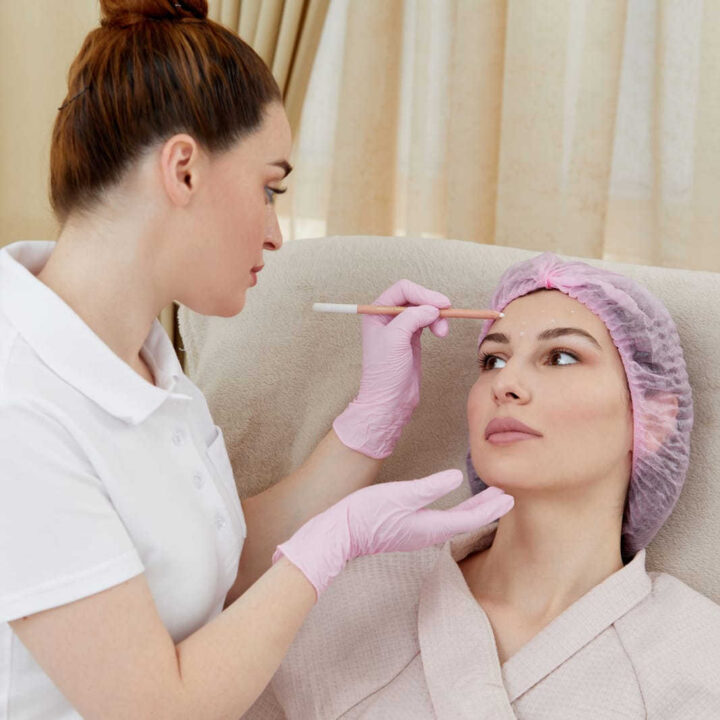
Dermaplaning is a hair removal method that leaves your skin smooth and glowing. Aesthetic professionals use a special tool to gently scrape away excess hair and dead skin cells.
- A trained specialist cleanses your skin thoroughly to remove any makeup or oils.
- They pull your skin taut to create a firm surface for the treatment.
- Using a sterile surgical blade, the provider skillfully skims off vellus hair and rough skin.
- The angle of the blade is critical; it’s held at a 45 – degree angle to the skin for optimal exfoliation without causing harm.
- The specialist methodically works across your face, avoiding active pimples and acne scars to prevent irritation.
- Throughout the procedure, there’s a focus on safety and precision to avoid ingrown hairs or razor burns.
- Finally, they apply soothing products to calm your skin and protect it after treatment.
Benefits for Women
Experiencing dermaplaning can be a game changer for women who want that ultra-smooth complexion. It goes beyond traditional shaving by removing the top layer of dead skin along with fine facial hair, making it an excellent option for women keen on maintaining both hair-free and rejuvenated skin.
Unlike razors that simply cut the hair shaft, this technique helps in reducing acne scars and promotes faster skin cell turnover.
Many females find their makeup applies more flawlessly after treatment since there’s no peach fuzz or uneven texture to contend with. Daily skincare products penetrate better too, as there are no dead cells blocking their path to deeper layers of skin.
This process is safe for most skin types and even benefits those undergoing certain acne treatments by preventing new pimples from forming around clogged pores and irritated hair follicles.
Women looking for a gentle yet effective way to boost their facial glow often turn to dermaplaning as part of their regular beauty regimen.
The Difference Between Dermaplaning and Shaving
Dermaplaning and shaving may seem similar, but there are key differences in terms of exfoliation, safety, and effectiveness that women should consider before choosing a method for facial hair removal.
Understanding these differences can help you make the best choice for your skin care routine.
Exfoliation
Exfoliation plays a key role in both dermaplaning and traditional shaving. When you shave, the razor eliminates the top layer of dead skin cells along with facial hair. This process can leave your skin feeling smooth temporarily, but it typically only removes surface-level debris.
Dermaplaning takes exfoliation a step further by using a scalpel to gently scrape off the very top layers of skin. This method not only gets rid of peach fuzz but also targets fine lines, scars, and uneven texture for deeper skin rejuvenation.
Regular treatments contribute to brighter and smoother complexion as this technique encourages new cell growth by removing old layers more effectively than standard shaving ever could.
Safety
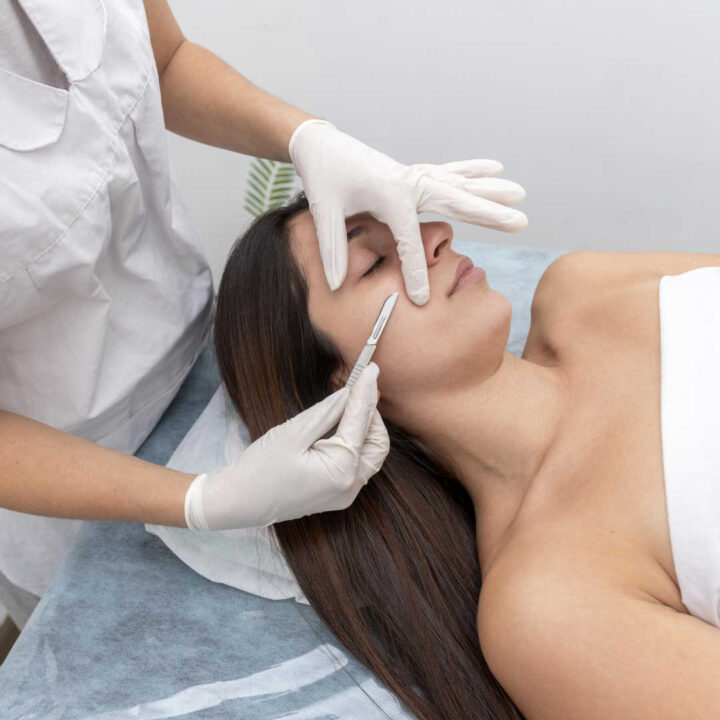
When considering the safety of dermaplaning or shaving, it’s important to keep in mind that both procedures involve removing hair from the face. With dermaplaning, a trained aesthetician uses a surgical scalpel to exfoliate the skin and remove fine hairs.
While shaving can also exfoliate the skin, using a razor meant for body hair on delicate facial skin carries risks such as cuts and irritation. The key difference lies in the precision and control provided by dermaplaning techniques compared to traditional shaving practices.
To ensure safety during either procedure, it’s essential to use clean, sterilized tools and follow proper skincare protocols before and after treatment, minimizing any potential risk of infection or skin irritation.
Effectiveness
Dermaplaning effectively removes dead skin cells and fine facial hair, leaving the skin smooth and radiant. This process also enhances the absorption of skincare products, making them more effective.
The exfoliation achieved through dermaplaning can improve skin tone and texture, giving a youthful glow.
Shaving the face is effective for removing unwanted facial hair but does not offer the same level of exfoliation as dermaplaning. While shaving can provide immediate results in terms of hair removal, it may not contribute to overall skin rejuvenation in the same way that dermaplaning does.
With this understanding, women seeking both smooth skin and improved complexion may find dermaplaning to be more beneficial than traditional shaving methods.
How to Get a Dermaplaning Treatment
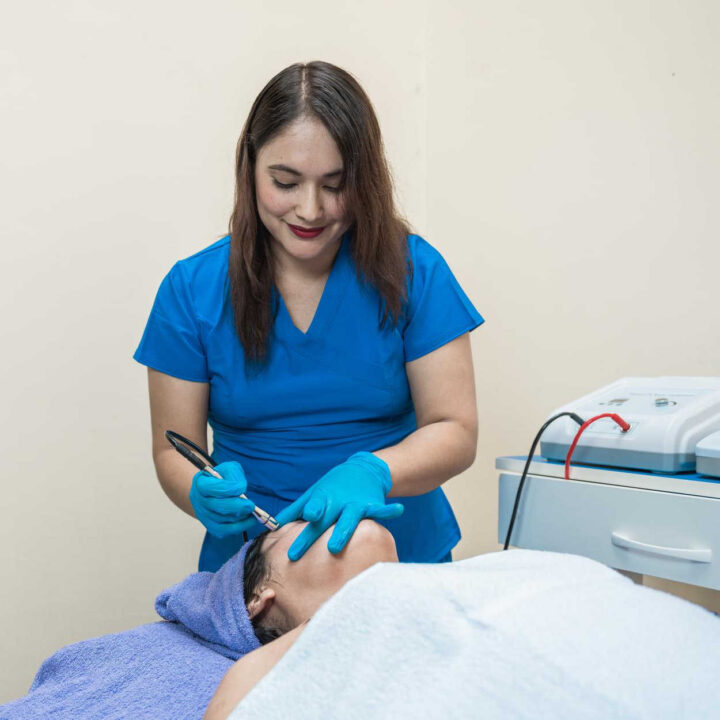
If you’re interested in getting a dermaplaning treatment, you can choose to visit a professional aesthetician or try it at home. Both options have their own set of benefits and considerations, so make sure to do your research before deciding which route to take.
Professional vs at-home
Deciding between a professional dermaplaning treatment and doing it yourself at home is vital to the outcome of your skin’s appearance and health. Below is a comparison table:
| Professional Dermaplaning | At-Home Dermaplaning |
|---|---|
| Performed by a licensed esthetician or dermatologist. | Done personally with a dermaplaning tool. |
| Uses sterile, surgical-grade blades. | At-home kits come with safety blades. |
| Procedure includes proper skin prep and post-care. | Prep and post-care depend on user knowledge. |
| Can reduce risk of cuts and infections. | Potential for user error and skin irritation. |
| Typically includes a soothing treatment post-dermaplaning. | Aftercare products are user’s responsibility. |
| More expensive than at-home options. | Cost-effective alternative to professional treatments. |
| Scheduled appointments are necessary. | Convenient, can be done whenever needed. |
Choosing between professional or at-home dermaplaning comes down to personal preference, budget, and convenience. Consult with a professional if you are undecided on the best course of action for your skin.
How To Dermaplane At Home Safely
Prepare your skin by cleansing and drying it, choose a high-quality dermaplaning tool, and use gentle yet firm strokes to remove dead skin cells and peach fuzz. Interested in learning more about how to dermaplane at home safely? Keep reading for all the details!
Preparing Your Skin
Getting ready to dermaplane at home is straightforward if you follow the right steps. Ensuring your skin is prepped correctly will help you achieve the best results and avoid any irritation.
- Start with a clean face by using a gentle cleanser. This removes makeup, oils, and impurities that can cause razor burn or acne.
- Pat your skin dry with a soft towel. It’s important to avoid starting the dermaplaning process with wet skin as it can lead to uneven exfoliation.
- Apply a light exfoliant. Choose one suited for your skin type to remove dead cells and make the shave smoother.
- Check your skin for any signs of eczema, dermatitis, or active acne flare – ups. If present, it’s best to postpone dermaplaning until these conditions improve.
- Ensure no harsh skincare products were used beforehand. Aggressive exfoliants or retinoids can make the skin more sensitive and prone to cuts during shaving.
- Lay out all necessary tools before beginning. Have your razor, fresh blades, and other equipment on hand so you don’t have to stop mid-process.
- Pull your hair back from your face and secure it well. This prevents any stray hairs from getting in the way when targeting peach fuzz along the hairline or facial stubble.
Choosing The Right Tools
Now that your skin is prepped and ready, let’s focus on the essential step of selecting the appropriate tools for dermaplaning. Quality instruments make all the difference in achieving that smooth, exfoliated complexion without causing irritation or razor bumps.
- Opt for a specialized dermaplaning tool: These are specifically designed with safety features to protect your skin while effectively removing dead cells. One excellent example is the Leaf Shave Dermaplaner (Ed. note: affiliate link).
- Avoid regular razors: They’re not suitable for facial exfoliating, as they don’t offer precise control and can lead to nicks.
- Seek out a single-edge blade: This type ensures you have a sharp enough edge to exfoliate effectively but is also designed for safe use on delicate facial skin.
- Consider blade strength and flexibility: A robust but flexible blade will navigate the contours of your face with ease, reducing the risk of cuts.
- Look for an ergonomic handle: Comfort in your grip will give you better control and help avoid accidental slips during the dermaplaning process.
- Check reviews before purchasing: Learn from others’ experiences to find a tool that has been proven gentle yet effective for at-home use.
Technique For Dermaplaning
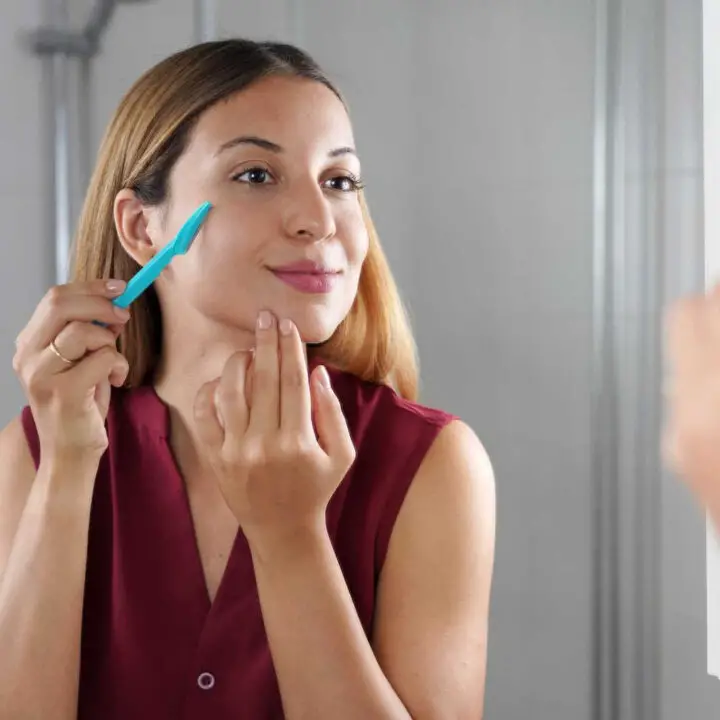
Mastering the technique for dermaplaning is crucial for effective exfoliation and avoiding irritation. Follow these steps to ensure a smooth, glowing complexion:
- Start with a clean face. Wash your skin with a gentle cleanser to remove any makeup, oil, or dirt.
- Pat your skin dry. Use a soft towel to fully dry your face before you begin dermaplaning.
- Hold skin taut. Stretch the area of your skin slightly with your free hand to create a firm surface.
- Angle the blade correctly. Position the dermaplaning tool at a 45 – degree angle against your skin.
- Use short strokes. Gently glide the tool downward in small, feather – like strokes along your cheeks, jawline, and forehead.
- Be extra careful around delicate areas. Slow down as you maneuver around sensitive spots like your nose and upper lip.
- Avoid acne breakouts or wounds. Skip over any pimples or abrasions to prevent further aggravation or infection.
- Keep the blade clean. After every few strokes, wipe the edge of the tool on a damp cloth to clear away accumulated skin cells and peach fuzz.
How Often Should You Dermaplane At Home?
Dermaplaning at home is a gentle exfoliation method, so it’s safe to do once every 2-4 weeks. This allows your skin enough time to recover in between sessions and prevents over-exfoliation.
If you have sensitive skin, consider dermaplaning less frequently, like every 3-4 weeks, to avoid irritation.
Once you’ve established a dermaplaning routine, it’s important to be mindful of any signs that could indicate potential issues. Keep an eye out for redness, irritation, or unusual breakouts on your skin following the process.
Additionally, if you experience prolonged sensitivity or discomfort, it might be a sign to adjust the frequency of your dermaplaning sessions.
Moreover, pay attention to how your skin responds over time. If you notice a decrease in the effectiveness of dermaplaning or if your skin appears dull and uneven despite regular sessions, it may be time to reassess your technique or seek professional advice.
Care before and after
After deciding whether to opt for professional dermaplaning or doing it at home, it’s essential to know how to care for your skin before and after the treatment. Here’s what you should consider:
Before the treatment:
- Cleanse your face thoroughly to remove any makeup, oils, or impurities.
- Avoid using any exfoliating products or creams containing retinoids a few days prior to the procedure.
- Consult with a dermatologist if you have any skin conditions or concerns.
After the treatment:
- Apply a soothing moisturizer to keep your skin hydrated and calm irritation.
- Use a gentle cleanser and avoid harsh scrubs for at least a day after dermaplaning.
- Protect your skin from sun exposure and wear sunscreen to shield it from harmful UV rays.
Conclusion
Dermaplaning and shaving for women both offer exfoliation and hair removal. Women can opt for professional dermaplaning treatments or perform at-home shaving. Considering the benefits and safety aspects, individuals can decide which method best suits their needs.
Embracing either option can contribute to smoother, radiant skin with proper care before and after the treatment.
About the author: Sophie Leclerc is a freelance author.
