


And thus I finally come to the end of the series! I apologize for the delay, but I hope that the payoff will be worth it.
Just to recap, in my first article in this series (Part 1) I introduced a bit of history and trivia about natural Japanese whetstones, and in the second (Part 2) we looked at some of the specific characteristics that make these stones so very good for straight razor honing. In this part, then, I thought I’d give some techniques for using them…the good stuff!
Now, I really should start with a disclaimer here: my technique for using Japanese hones is based on lessons I got from my barber, tempered with some information I got from a Japanese Barber’s guide –which you can find linked on my blog here: Honing Razors and NihonKamisori– written in the 1960’s by Kousuke Iwasaki, a man I’ve mentioned before (A Kamisori Primer). This does not mean that my way is the only way: indeed, I imagine it’s not even the most common way. There are as many razor-honing techniques as there are razors, it seems, and they all seem to work pretty well. But the techniques I use here are, I feel, clear enough that even someone relatively new to honing can use them, and effective enough to give even the most delicate face a good shave.
So with that said, I’ll go ahead and describe the process. It’s a little long and drawn out, so the visually oriented among you might prefer the video version (in two parts) and one featuring my barber, who taught me:
Let’s start with the equipment you need:
Your Japanese hone (本山-honyama)
This is the big guy, what I’ve been talking about all this time. For details, see my previous posts or my blog, Eastern Smooth.
Nagura
Nagura are small, whitish/striped stones with a soft, chalky texture, sourced from a mountain near Mikawa city, in Aichi prefecture Japan. They are divided into a wide number of qualities, but for razors we are only concerned with 4 types: Botan, Tenjou, Mejiro and Koma.
The basic recommended set includes 1 Botan, 1 of EITHER Tenjou or Mejiro, and 1 Koma, but Koma are getting more and more rare, and thus more and more expensive. If you don’t have a Koma, it’s ok to skip it but having it makes the transition smoother.
Small form Honyama/Tomonagura:
This is a small piece of a finishing hone, like the main hone above. It should be of roughly the same hardness as your main stone. When he gave me his hones, my barber told me that the most important part was this stone…and after several months, I am finally understanding what he meant.
Once you’ve got your equipment, it’s time to begin!
There are two basic steps to honing on Japanese hones. The initial sharpening, done with coarse nagura slurry (a thin mix of water and mud from a hone stone), and the final honing/polishing, done on Honyama slurry.
First, let’s talk about the initial sharpening. This is done with a razor that won’t shave. It pulls or won’t cut hair, but it might “feel” sharp. This is NOT setting a bevel, as you might do when repairing a damaged razor. That work is best left to a rough stone like a DMT 1200 or even lower. The honing done here can be done after setting that bevel, though.
Get your Honyama, your Nagura, and lots of water.
(1) Wet the stone well, so that the top is wet to the touch but not pooled with water. Take your Botan and rub it evenly over the surface of your hone without pressure. Raise a milky white slurry over the entire surface of the hone. The slurry should be about the consistency of 2% milk.
(2) Using this slurry, hone your razor. Use whatever patterns (X, V, Figure 8, whatever) you are comfortable with, and use only the pressure necessary to keep the razor flat on the hone. Continue to hone until the entire bevel is evenly colored white. The slurry on these hones causes a “speckled” white haze. The bevel should be EVEN along it’s entire length, there should be no patches of shine or sparkle. Also, the edge should start to feel sticky and should be able to shave arm hair with some pressure.
This might take a while, and if your slurry gets thick, or dark grey, it may be necessary to “refresh” the slurry, meaning making a new slurry as in (1). When you feel that the razor’s edge has reached a consistent level of sharpness and coloration along its ENTIRE length (don’t skimp on this), then move to (3)
(3) Wash your razor, hands and hone thoroughly, to remove any trace of the Botan slurry.
(4) Get your middle nagura?–either the Mejiro or Tenjou–and raise a slurry on your honyama, as in (1).
(5) As in (2), hone your razor with the slurry from the Tenjou. Your goal here is to sharpen the razor, and as the middle slurry is finer than the Botan, you are going to polish out the coarse marks of the Botan. Hone until your edge feels EVENLY sharper along its edge, and it should be able to shave arm hair fairly easily. The haze on the bevel will also darken, it won’t be as white as the Botan because of the finer scratches. Again, the color should be even along the whole bevel, with no patches of difference.
Be prepared to refresh the slurry a few times until you are satisfied with the results.
If you have a Koma, repeat the above process with it. Otherwise, move on to (6).
(6) Wash your hone, razor and hands VERY thoroughly. The next step will be putting the ultimate finish on your razor, and you don’t want any stray heavy particles ruining it.
We are now done with the initial sharpening step. The next step is the final hone/polish. It is also the beginning step for a “touchup” hone, for when your razor is feeling a little tuggy.
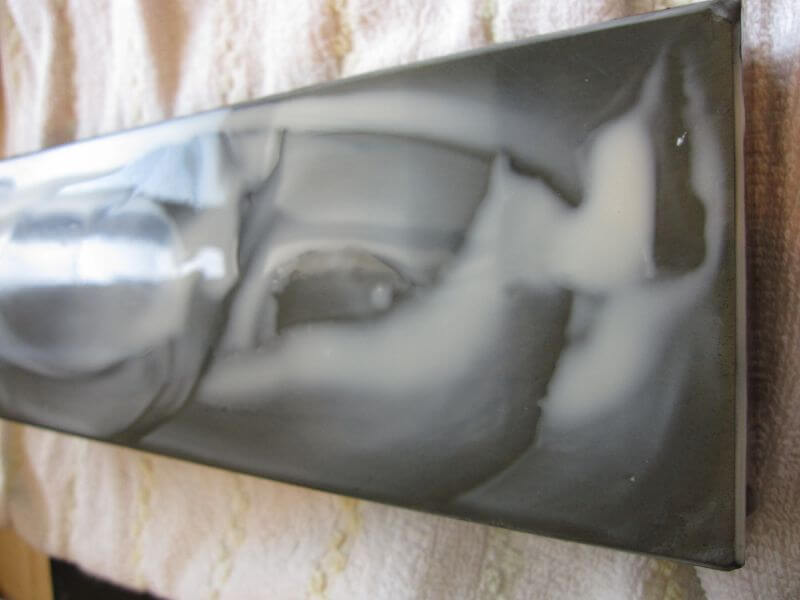
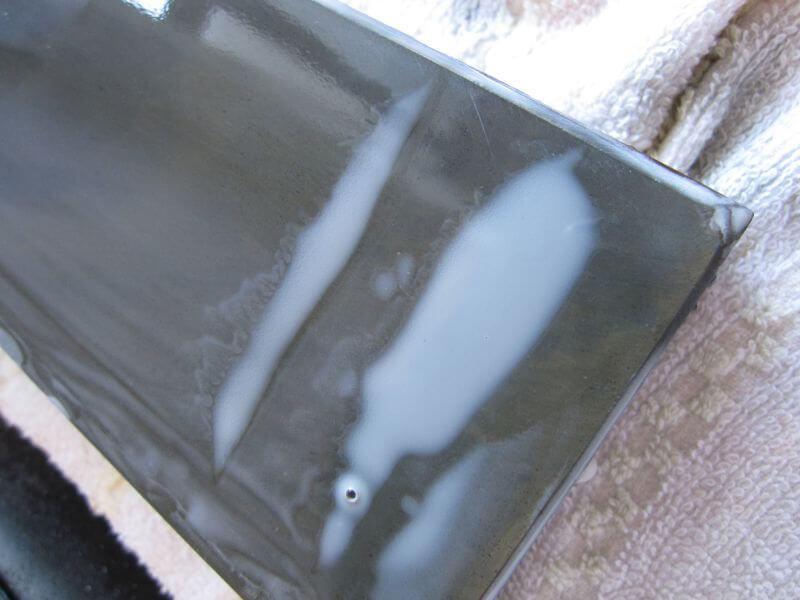
(7) Get your small honyama stone (also called a tomonagura)and, as in (2), raise a slurry on your clean stone. This should take much longer than with the nagura, as the honyama is a much harder stone. When you have raised the slurry, you are ready to hone.
Honing the razor on honyama slurry is different from the nagura. As you hone, the particles from the honyama will start to break down and get finer and finer. This process is what gives the final, super smooth edge you want, but before that you have to polish out the scratches from the nagura. In order to do this, you will have to balance the honing power of the initial slurry until it is time to finish the polish.
Here’s how we do that.
(8) Start honing using very light pressure. Watch the slurry very carefully. When the slurry begins to darken and get a little “sticky”, MAKE NEW SLURRY. This will help to continue honing, without letting the particles get too small and start polishing prematurely.
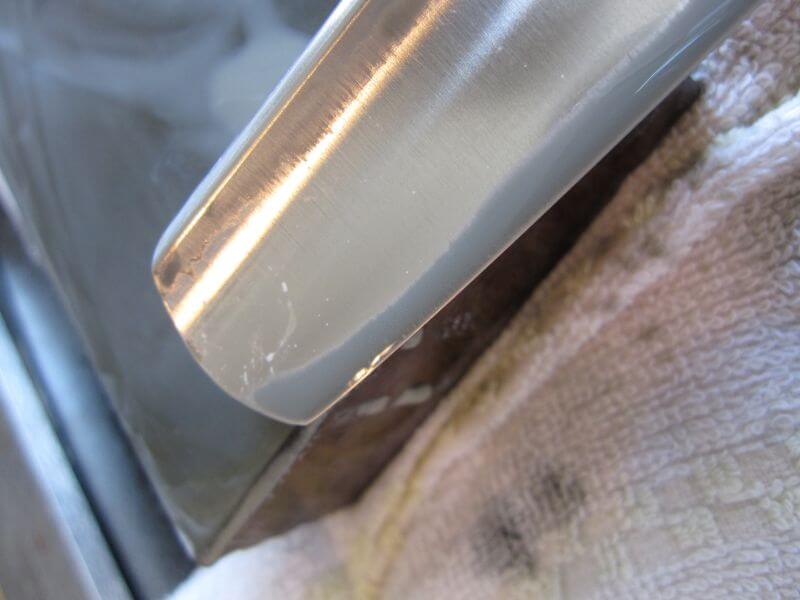
(9) Continue to hone, making new slurry as necessary, until the entire length of the bevel loses the whitish nagura haze and takes on a shiny, cloudy polish. The razor should start popping hairs above the skin. It may take several rounds of refreshing the slurry to achieve this (figure at least 3, and maybe more, depending on the hardness of the steel and the qualities of your stone).
(10) When the razor has taken an even, shiny hazy finish along the entire length of the bevel, and feels evenly sticky along the entire edge, STOP refreshing the slurry. Continue honing until the slurry breaks down completely, and becomes a thin, sticky film on the hone. At this point, you might want to add a drop of water or two to keep polishing.
Once you’ve reached this point, your razor should be ready to test shave. If the razor fails the shave test, think about what it needs, and go back up the routine to a point that seems reasonable. Experience is really the only thing that can guide you here.
And that’s it! I hope that between the videos and the long-winded description, the process seems pretty clear. Of course, nothing can compete with hands-on experience, so don’t be at all surprised if you try this and the first few attempts aren’t what you were hoping. The motions, the feeling of the steel on the stone, and the look of the edge all take time to get used to, and the only way to do it is try. So please do!

Thanks JimR, I’ve been reading your info for the past two weeks (from various places). I’ve got an iwasaki arriving tomorrow as my first straight razor (do it once, do it right). Hopefully I will be able to put your fantastic knowledge into practice.
Thanks again,
Fossala.
Hello Jim,
i bought a few month a kamisori built by a passionate italian (name of the producer Medusa), built entirely in steel.
I think it is a little ‘tight’ in shaving, but I say to be a characteristic of the kamisori.
What can I do to make it sweeter in shaving and as sharpen?
I hope you haven’t disturbed. Dear greetings. Joseph
Ciao Guiseppe! Grazie per il Commento!
I’ve been reading your comment for a while and trying to imagine what the problem might be. It’s hard to be sure, especially because I do not know Medusa razors, or their sharpening style.
I have two things you could try.
1. Using a padded “pasted” strop, strop the razor with a bit of pressure. This puts a slightly rounded bevel on, which sometimes helps people feel a little more “weight” in the razor. That is how Mizuochi-sama of Iwasaki razors finishes his blades.
2. Try rehoning the razor on natural hones, with a good Japanese finisher. I often find even a very good razor sometimes needs a couple of resets on the hones to really get set right.
I know this might not be very helpful. To offer any more advice I would need to see the razor myself, and see how it was honed.
Good luck!
Jim
Comments are closed.