

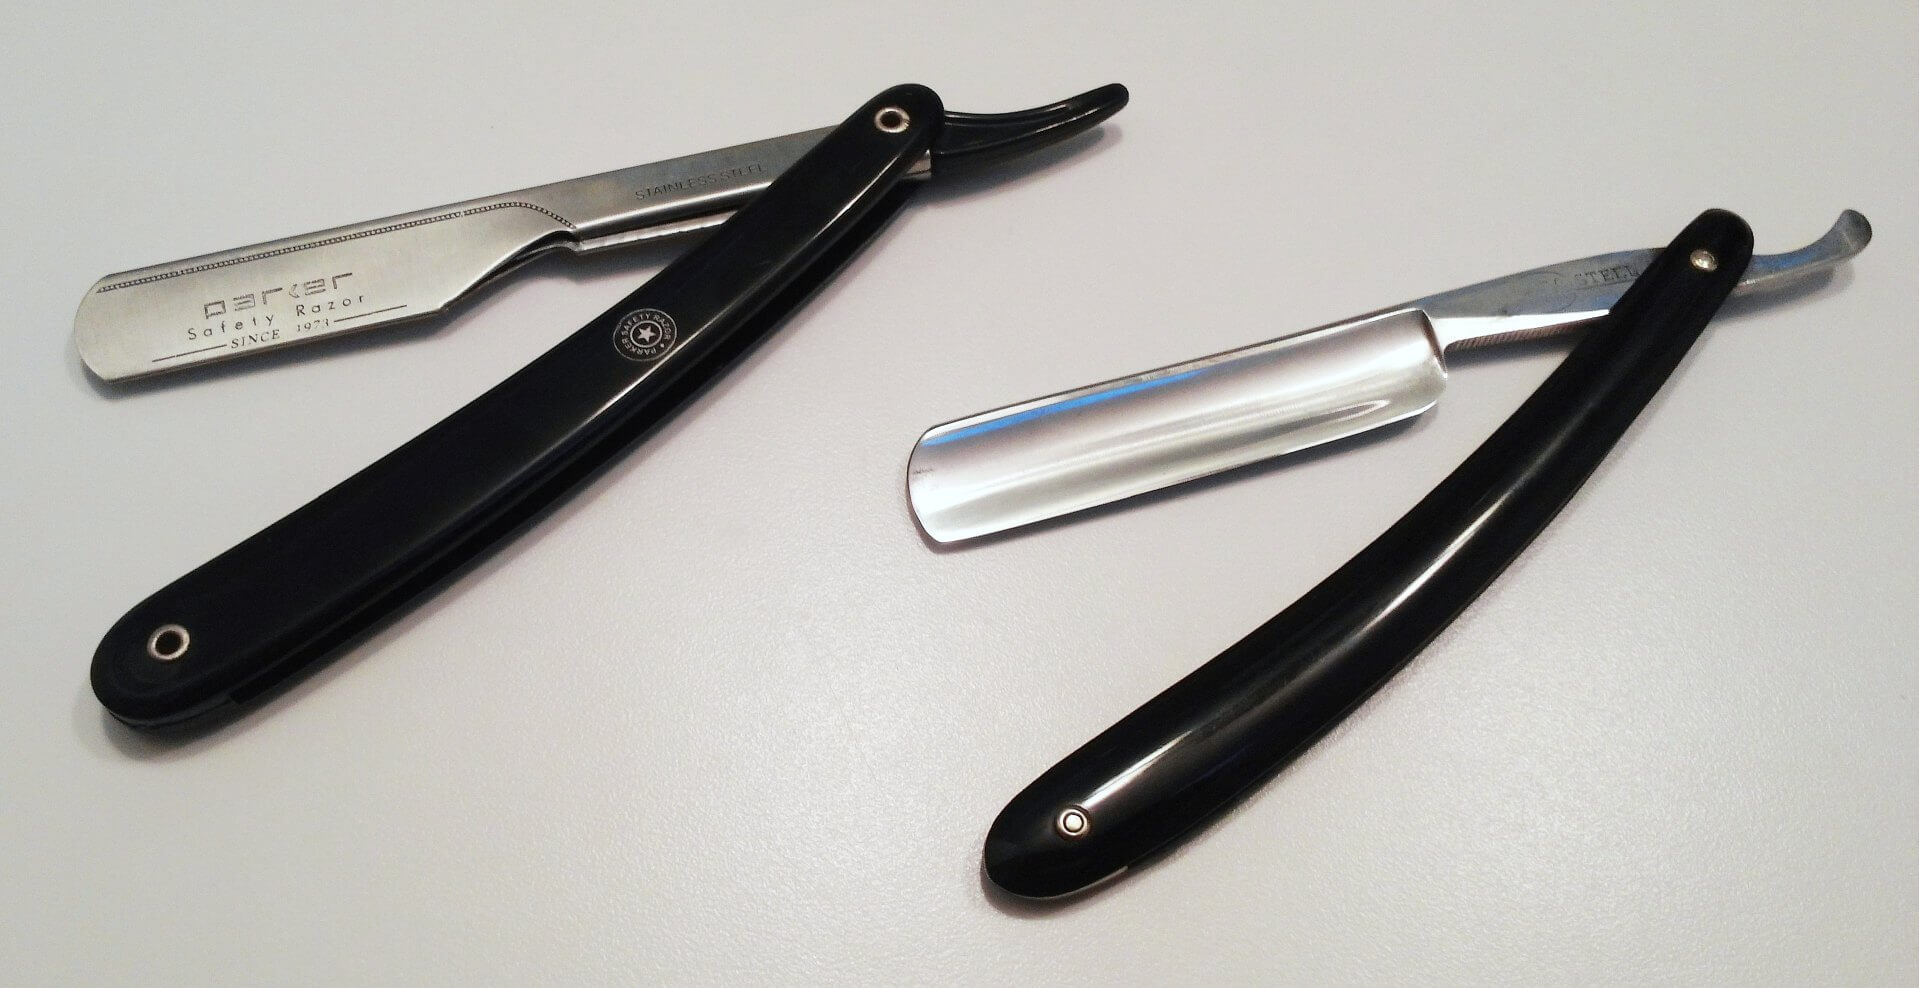
In March of this year, Sharpologist published my experiences and observations as a newcomer to using barber straights (so-called “shavettes”), which are, of course, straight razors that use replaceable blades. About two months after that, when attending the Maggard Meet hosted by Maggard Razors at their store in Adrian, MI, from them I purchased an economical vintage 5/8-inch hollow-ground straight razor and 2-inch strop.
My intentions were to try what I’ve long considered the most ecologically-responsible shaving option, the traditional straight razor, which has nothing to dispose of or recycle except biodegradable save soap and stubble. I also wanted to compare the difference in shaving experience and technique between my barber- and traditional-straight razor. This article is a report on my experiences, learnings, and resulting suggestions for others.
The Straight Razor Purchase
I didn’t go to the Maggard Meet with the intention of making an investment in traditional straight-razor gear. As I recall, it was the result of a casual conversation with Mantic59 about my use of and my article on the barber straight that led me to the idea of going full Monty and making the investment in a traditional straight and strop.
There were a few things that had kept me from previously taking the plunge into traditional-straight shaving. These same issues also gave me pause on that day in the Maggard shop. The initial investment in just the razor itself was going to be more – sometimes significantly more – than most DE razors. Then one has to have a strop on hand for daily maintenance of the razor’s edge. Beyond that, a traditional straight has to periodically have its edge refreshed, which either requires the appropriate sharpening stones or trips to a honing professional.
I discussed my concerns with Brad Maggard while perusing their available straights. Our discussion focused largely on avoiding unnecessary overspending as well as edge-maintenance strategies including stropping and honing. I ended up buying a shave-ready vintage razor that was similar in dimensions to my favored barber straight, the Parker PTB.* For a strop, Brad recommended a 2-inch strop to keep my initial investment lower. Regarding edge maintenance, he suggested foregoing honing gear and, while I was getting introduced to traditional-straight shaving, simply sending out the razor for sharpening when that becomes necessary. His final assurance that calmed my concerns was that if I didn’t like the process, I could probably sell my gear and recoup most of my cash outlay.
So before I had second thoughts and got cold feet, I held my breath and jumped in.
Modest Learning Curve
My vintage straight and my barber razor have one significant difference: the length of the edge. I laugh when I hear or read comments about the “disadvantage” of a half-DE barber razor being that the width of cut is so much less. My reality is that, due to the sharp contours of my face and neck, I am often using just a portion of the DE-blade edge. So obviously the extra width of the traditional straight really offers no benefit – at least not to me.
The length of a DE-blade edge is about 1-7/16 inches (36.5 mm). The edge length of my vintage straight is roughly 2-3/4 inches (80 mm). This obvious difference in length was the only thing that initially gave me a bit of trouble. On my maiden shave with the traditional straight, I would focus on the portion of the edge that was doing the shaving at a given moment, and a couple of times the opposite end of the edge nicked me. I quickly adjusted, but, really, that was the only significant difference in the shave.
When I first used the vintage razor, however, I thought it was much easier to use. The razor felt natural in my hand, and my strokes were much lighter and more sure. However, shaving the next day with my barber razor, and had the same comfort level. Hmmm.
After considering this, I realized that prior to the Maggard meet, I had taken a few days’ leave from my barber razor and exclusively used DE razors. It turns out that it was that layoff from the straight that accounted for my comfort with my new instrument. This is because a characteristic of human learning is that sleep between practice sessions of virtually any task including typing, athletic skills or shaving, the brain consolidates physical practice; we actually improve skills between practice sessions. (see footnotes 1,2, 3)
Shave Characteristics Of A Straight Razor Compared To A Shavette
Differences in edge length aside, I now find that when my traditional straight is adequately sharp and my barber razor has had its edge corners dulled (to avoid inadvertent nicks) and a very sharp, new blade as been lightly “corked” by running the edge through a foam packing peanut, the shaves are virtually the same.
This experience holds true through about four shaves on a recyclable blade. However, I must confess that I take good care of all my blade edges, not just on the vintage straight. Even for recyclable blades, after each shave I remove them from the razor, gently clean them under running water when necessary, pat them dry, and palm stop both sides of the edge for two or three strokes on each side. This goes for both whole and halved DE blades. If you don’t do this maintenance of recyclable blades, you are likely to get fewer good shaves from each one.
Shaving Technique
The shave-stroke technique that I’ve currently settled on tends to be short, light strokes with a feather soft initial landing on skin and a lifting-away-from-skin conclusion. I rarely take long strokes, and have come to view them as a momentary lapse into over confidence and an unnecessary risk of skin injury. My most difficult areas to shave continue to be high up under the nose, just under my lower lip, and the point of my chin.
My under-nose technique, when shaving downward, is a scooping stroke. It begins with the lightest of touch-downs because the blade starts rather perpendicular to the skin surface. I will, as necessary, use the point of the blade to shave across the hairs that are highest under my nostrils. I shave just below my lower lip with both downward and side-to-side strokes. My chin takes the shortest of strokes, treating it as though it were diamond cut with myriad facets.
These days I typically do a two-pass straight-razor shave. The first pass is pretty much downward-direction strokes irrespective of the grain direction of my beard. For the entire first pass, I use the basic forehand grip on the razor, and I use both hands. Generally speaking for this first pass, my right hand shaves the right side of my beard (and selected areas on the left side), and my left hand shaves the majority of the left side of my beard.
The second pass on my cheeks, lips and chin uses more or less side-to-side strokes. These strokes still use the basic forehand grip on the razor. Under my jaw and on my upper neck, I shave with upward strokes using a backhand grip on the razor. For my lower neck, I repeat the first-pass process, shaving downward with my basic forehand razor grip.
Stropping Skills and Choosing a Strop
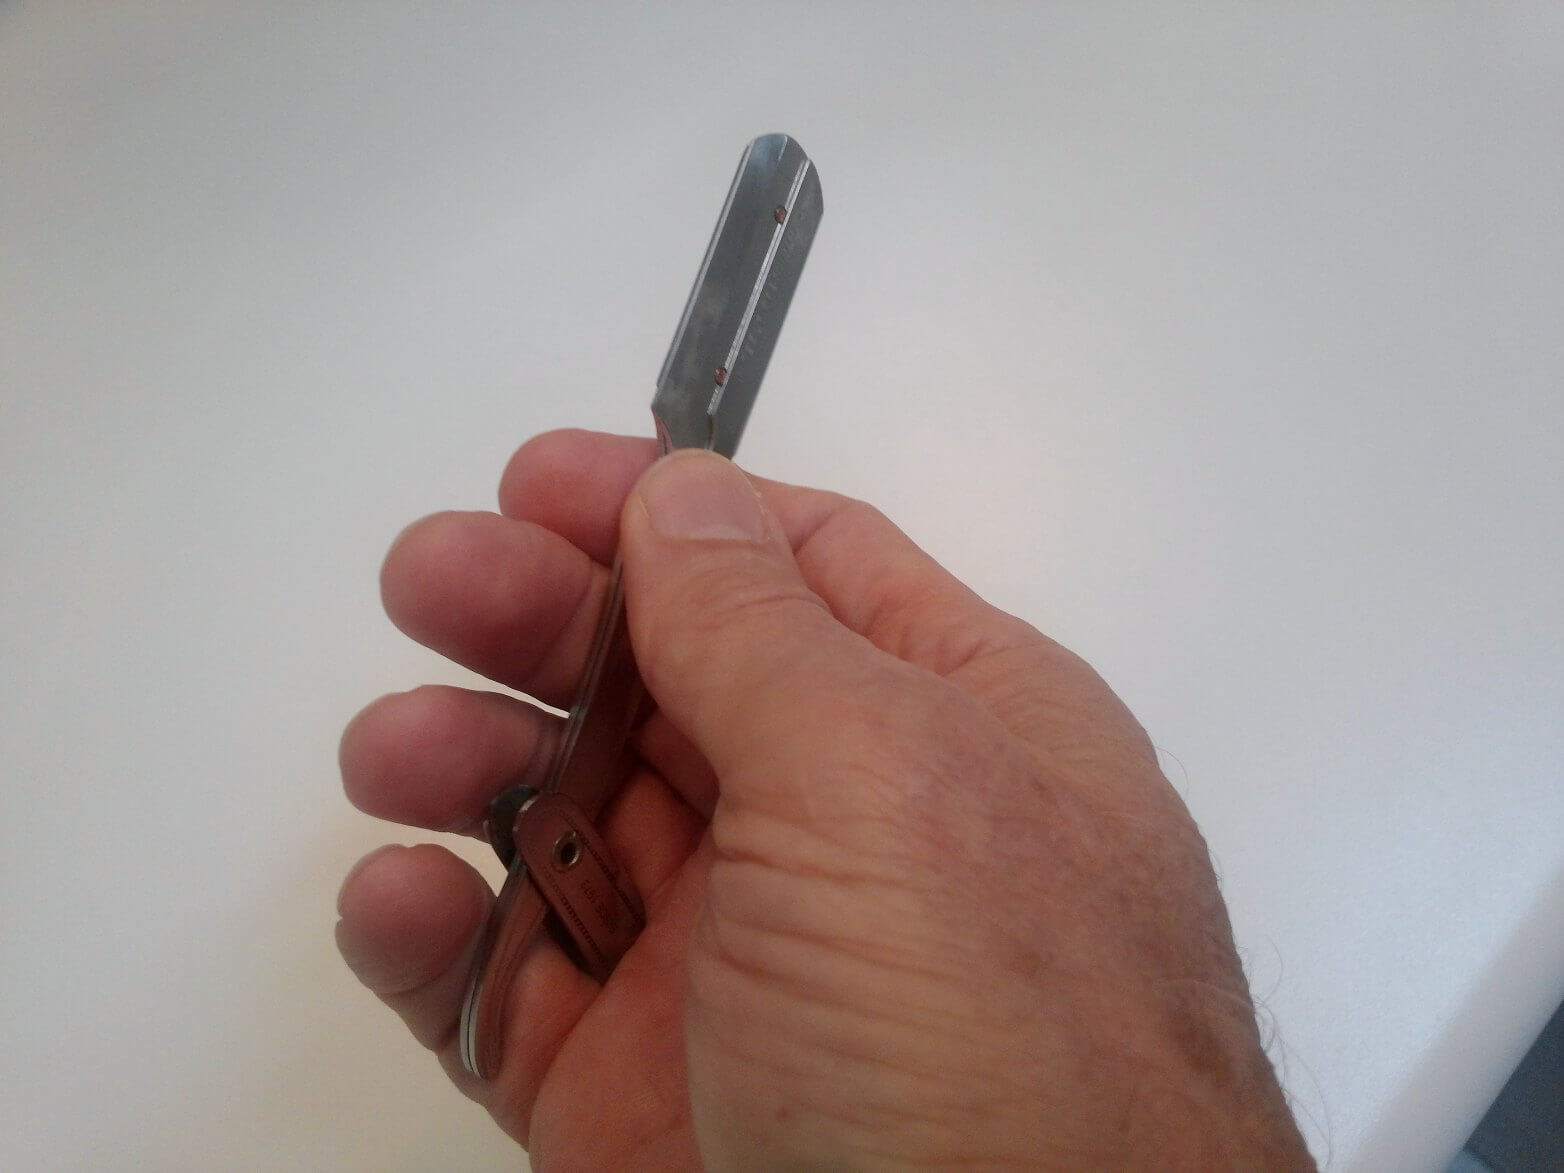
The biggest difference between the barber and traditional straight is edge maintenance – specifically stropping before and after the shave. I use the webbing part of the strop for a few strokes after the shave. I use the leather strop prior to shaving.
A big factor in stropping success is stropping skill, but one’s choice of strop plays a role as well. If I had it to do again, I would initially spend the extra money and get a 3-inch-wide strop. With a 2-inch strop, the razor edge is wider than the strop. The commonly-recommended solution to this is to make diagonal strokes of the razor beginning, for example, with the point of the blade on the strop and concluding the stroke with the heel of the blade on the strop. This technique is usually referred to as an X pattern.
The X-pattern technique can work. However, for someone new to traditional-straight-razor maintenance, stropping can be a real challenge. The strop must be held with sufficient tension to keep it rather straight; if it bows too much, one can actually dull the edge rather than maintaining it. The pressure of the razor against the strop is important too. The pressure should be very light. Too much pressure will bow the strop and again risk degrading the edge. Also the pressure should be even. Then there’s the stropping-stroke turn. Seemingly simple, it can be surprisingly easy to make a mistake and damage both the edge of the razor and the strop as well.
By the way, I’m speaking with the voice of experience. I figured that since I’ve had experience as a woodworking hobbyist sharpening chisels and planes, stropping a razor would be a snap. Not so. That initial 2-inch strop taught me this: one needs to take it slow and careful when learning to strop, and I would have saved money (maybe) by spending the extra $20 on a 3-inch strop. I might have saved money because I might not have had to buy the wider strop (which I did buy) after first purchasing the narrower one. I might not have saved money because I might have damaged the first strop in any case.
The message to be heeded is to take very seriously the business of learning to strop your razor. Keep the strop tight and pretty straight. Use light, even pressure of razor on strop. Strop slowly for many, many days until you’ve got your technique completely solid; it only takes one bad mistake to ruin a strop. The most challenging aspect of stropping technique is the turn, when you end one stroke and begin another. Always turn the razor by pivoting it on its spine, not its edge. Always ensure that the direction of movement is with the spine leading the stroke, not the edge. At the turn is where you are likely to make this mistake and nick your strop and potentially degrade the razor’s edge.
Lastly, I want to mention choice of strops. Buying an inexpensive strop – say for under $45 or $50 – may be a false economy. Really inexpensive strops may be like buying a really cheap straight razor: they look like the real thing, but don’t perform like the real thing. And again, I’d like to reiterate that if you are going to be careful and deliberate in mastering your stropping, then spend the extra dollars on a 3-inch strop. It can be money well spent.
Beyond Basic Stropping
As I implied, my initial stropping escapades inflicted some damage on my 2-inch strop, and a bit of degradation to the razor’s edge as well. I used a fine-grit emery board (a type of nail file) to smooth the nicks in the strop. I also came up with what I thought was a clever fix for the razor.
I ordered a 3-inch strop and some stropping compounds as well – a 0.5-micron and a 0.1-micron grit. I did not apply either of these compounds to a strop, however. Instead I cut two pieces of thin, dense cardboard to about 3-x-10-inch sizes. Then I took a Q-tip and applied each compound to its own rectangle of cardboard. Then using the same flat, thick piece of glass that I used when sharpening my wood-working tools, I laid the cardboard on the glass and, using moderate pressure applied to the center of the blade, I “stropped” my razor. First I used the 0.5-micron “strop”, then wiped the blade thoroughly, then used the 0.1-micron “strop”, again wiped the blade thoroughly, then stropped the razor on my new, leather, 3-inch strop.
This process significantly improved the edge. I will repeat it again periodically when daily stropping doesn’t quite anymore do the trick.
I’ve also been shopping for finishing stones to touch up the edge when stropping compounds aren’t adequate. They are quite pricey, however, and this purchase can be delayed – indefinitely if I so choose. After all, it isn’t that expensive to send the razor out for edge improvements every few months or more.
Altered (Shaving) World View
My combined straight-razor experiments (both the barber and traditional straights), have changed my outlook on shaving. They regenerated my once-flagging interest in shaving, offering new technical challenges as well as a Zen-like challenge of requiring me to be mentally focused, mentally present for every stroke of the razor.
I have also changed my ideas about a good shave. It is generally true that my average straight shave will not be closer than my average DE shave. However, a pretty-good straight shave is much more rewarding than the same shave outcome done with a DE. With a straight razor, chasing baby smooth is for me too dangerous to be sensible. This resulting acceptance of the less-than-ideal outcome has given me new perspective on good enough and better than good enough. A two-pass, wound-free shave with a straight may not be baby smooth, but it looks good and provides a sense of satisfaction that is very rewarding indeed.
Although I started this straight-shave enterprise with doubts – both with the barber razor and then with the traditional straight – I’ve come through it happy with my choices. I’ve acquired new skills and a new sense of accomplishment. I’m glad I took the plunge.
Happy shaving!
Endnotes:
(1) “Sleep, Learning, and Memory.” Healthy Sleep. The Division of Sleep Medicine at Harvard Medical School, Dec 18, 2007.
Web. June 16, 2017. <http://healthysleep.med.harvard.edu/healthy/matters/benefits-of-sleep/learning-memory>
(2) Walker, Matthew P, et al. “Practice with Sleep Makes Perfect.” Neuron Volume 35. Issue 1 (2002). Print.
(3) “10 Health Benefits of Quality Sleep” – https://www.terrycralle.com/health-benefits-of-quality-sleep/
*affiliate link
