

Shaving videos? Yeah, I’ve made a few (and yes! I’m working on more). I’ve watched a bunch of others too. I think I’ve learned a few things about making them over the years. Please allow me to give you a few pointers on how to make a shaving video.
Making shaving videos has many of the same elements of making any video…plus a few more. Let’s tackle each element.
[Note: Amazon links are affiliate.]
Video
The most obvious aspect of making a video is the visual element itself. There are many cameras to choose from, in many different price ranges. But let me propose a set of features I think a good video device should have:
- External microphone input
- 1080p High Definition (if you want to “future proof” your investment consider a unit that will support “4K” video resolution but expect a much higher price and it’s really not needed)
- Good in low level light
- Remote control available
- Continuous auto-focus
- External headphone output
I think the external microphone input is the the most important of these features. You may be surprised just how important good audio is to a good video presentation. There are ways to get around not having an external microphone input on a camera but the solutions can make things more complicated. I’ll have more on audio later in this article.
As for the device itself there’s a fairly wide variety to choose from, though they can be dropped into two broad categories: “regular” camcorders and a digital still cameras with video mode. Consumer video camcorders are usually simple to operate but may not have the flexibility needed to get the job done well, depending on price range. On the other hand, you may not need more flexibility if the features you need are there and work well.
Digital cameras are made to take still images but some have excellent moving video modes as well. They typically have larger image sensors that perform better in low light situations, can accept other lenses, and are versatile in a non-automatic mode. However I have found that getting the correct depth-of-field with digital camera video can be trickier compared to the traditional camcorder.
Alternate digital camera models? Leave a comment!
Another possible alternative might be one of the latest generation of smartphones. If you have one that records video it’s certainly worth testing. But I don’t recommend getting an “action” camera (like the GoPro line) as I think they distort the visual image too much for an up-close shot like a shaving video would have.
Lighting
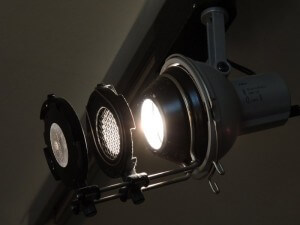 Luckily most bathroom settings (assuming you’re shooting your shaving video in the bathroom) have good lighting. But you may need to add some to get rid of odd shadows or washed-out colors and follow the classic three point lighting concept. In any case, make absolutely sure that all the lights you use are of the same type (incandescent, halogen, LED, etc.)! Mixing light sources will result in weird colors that look terrible on video (which can sometimes be corrected with software but it’s more work. Better to take care of it before you even start). If you need some extra light consider some portable options. One thing I have used with success is a Clamp Lamp with Reflector (inexpensive and found at many home-improvement stores). I also have an LED Video Light that attaches to a camera which helps those “straight on” angles.
Lighting has always been my Achilles heel. I struggled with weird shadows and shave lather drying out on me from the heat of lights. However I recently changed all my bathroom lighting to LED and added LED bulbs to my clamp lamps, which has really helped with both problems.
Audio
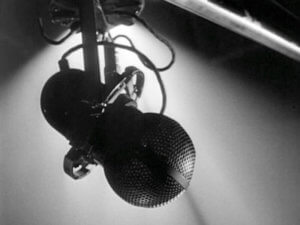 As good as a bathroom might be for lighting, they’re usually terrible for acoustics. With all the hard surfaces from many right angles, bathroom sounds can have a lot of echo. And do you want to listen to a video that sounds as if it’s been recorded in a cave? Even shooting in other locations can result in terrible sound, and most camera’s on-board micophones don’t help. Fortunately there are some things you can do to cut down on audio problems. One simple DIY technique is to drape blankets over strategic areas (the shower curtain rod for example). But a preferable solution is to simply use a better microphone–a reason I advocate using a camera with an external microphone input. An inexpensive Lapel Clip-on Microphone can significantly improve audio quality, though you may be tied to a cable. If you’re uncomfortable splashing water around a microphone, a “Shotgun” Microphone can also improve audio quality, though there may be some trade-offs. A third alternative is to not speak at all on-camera but narrate your video with a USB Studio Microphone.
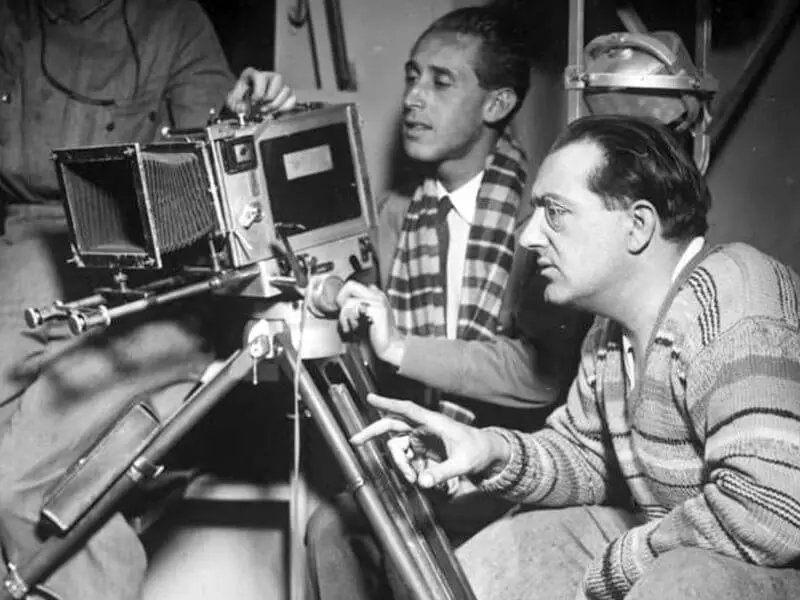
I’m Ready For My Scene, Mr. DeMille!
You have your gear, now it’s time to set everything up and shoot your video. Here is where I think a lot of people could use a few tips.
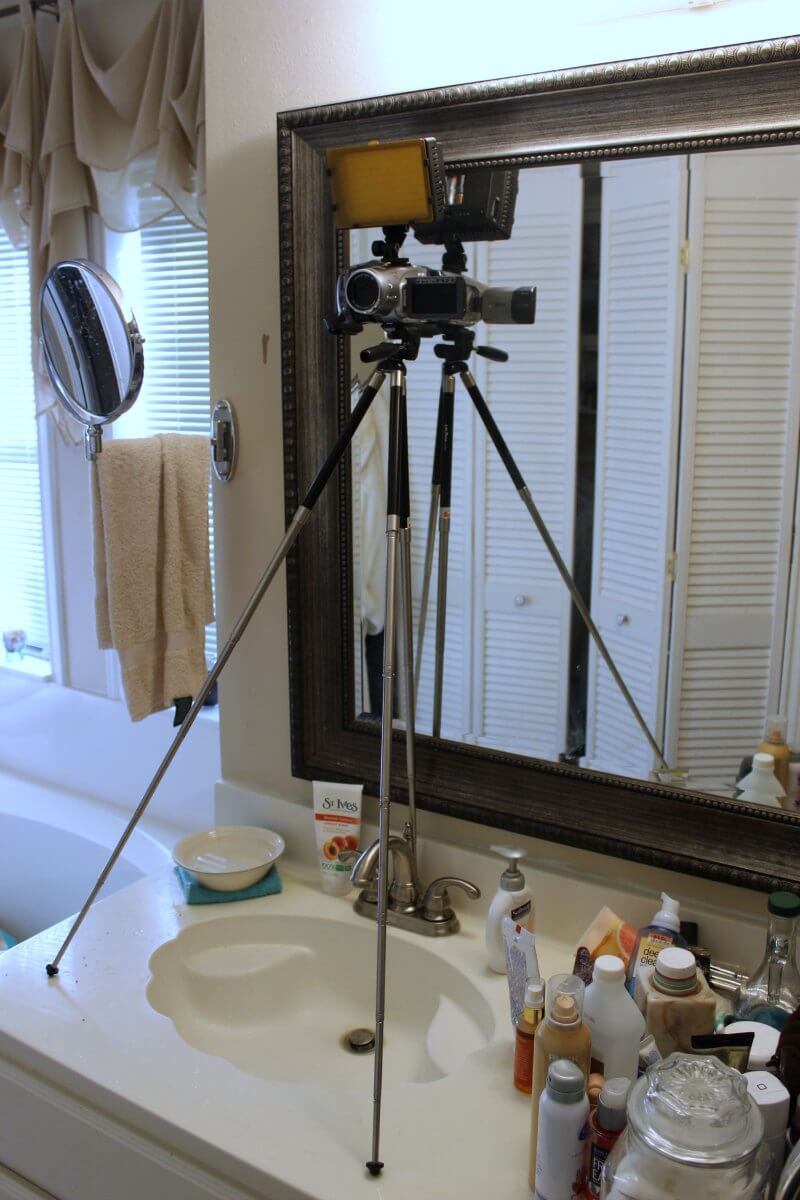
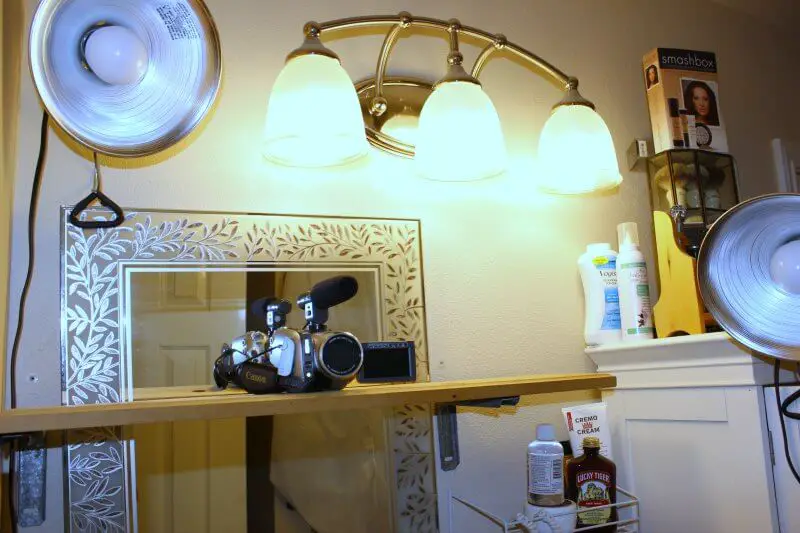
You may think you’re at the mercy of having to place your camera on the nearest flat surface–and that often means putting it on a counter and shooting upwards. But I think this actually creates more problems than it solves, with camera angles that make the subject’s nose look over-sized and shooting into lights making correct exposure more difficult. I have two solutions to that problem, depending on the type of bathroom fixtures you have.
If your bathroom is reasonably large and has some counter space around the sink, try using a camera tripod with continuously-adjustable legs, with one leg behind the sink and the other two on each side, adjusted so that you “lean back” the tripod with the behind-the-sink leg shorter than the others. You can then mount the camera at about eye level and still have room to use the sink.
If the bathroom set is small, or you have a pedestal sink, try mounting a shelf in front of the mirror at about eye level. I mounted shelf brackets on each side of the mirror and set a shelf across them, with loop tape (e.g. Velcro) on the top of the brackets and underneath the shelf to hold everything in place. That way I can remove the shelf when I’m not using it.
Give yourself plenty of time to make the shots right and have extra “takes.” If you’re actually shaving you might have to take your video over the course of several days (to allow for regrowth!) so be sure to keep continuity in mind.
Editing
After you’ve finished shooting your video, don’t just upload the raw footage to your favorite video-sharing service: take a little time to polish it up before publishing. I generally limit my videos to about 10 minutes. Wet shavers tend to have a little more of an attention span than the typical video viewer but making a long, slowly-paced video will not attract viewers. There are several free or low-cost options for editing your video.
Windows and MacOS offer (very) basic video editing capabilities.
An online video editor with many features is VEED online video editor (though you may need a fast internet connection). VEED‘s GIF compressor and MP4 compressor are very useful if you’re looking to save on file size or to optimize your video for sharing on social media.
Another online video editor that offers “templates” to give your video a specific look-and-feel, in addition to regular video editing features, is InVideo.
Motionbox is another alternative with many of the same features and also includes an interesting “Podcast to video” feature.
There are also some moderately-priced video editors that can give your production a more polished look (Amazon links are affiliate):
- Adobe Premiere Elements (PC/Mac)
- Lightworks (PC/Mac/Linux, free and paid versions)
- PowerDirector Ultra [Download] (PC)
- Movavi Video Editor [Download] (Mac/PC)
A word of caution about editing. First, there is a learning curve (much like going from a cartridge razor to a straight razor!) so be prepared to spend some time with the software to become comfortable with it. And there is a tendency for new users to “play” with features, particularly transitions. However it can be nothing but a distraction to viewers. Stick to two different transitions, one to denote the passage of time and one to denote a change in subject.
Another word of caution, about using music or video images/footage that you have not created yourself. Make absolutely sure you have the proper permissions for the music or images you use! Don’t just assume anything you find on the internet can be just dropped in or that it comes under “Fair Use.” There are some websites that offer free or low cost “stock” images but be sure to read the license: you may find it’s free for “non commercial” or “personal” use. If you upload it to a video sharing site and monetize them (ads) guess what? It may not be “non commercial” anymore!
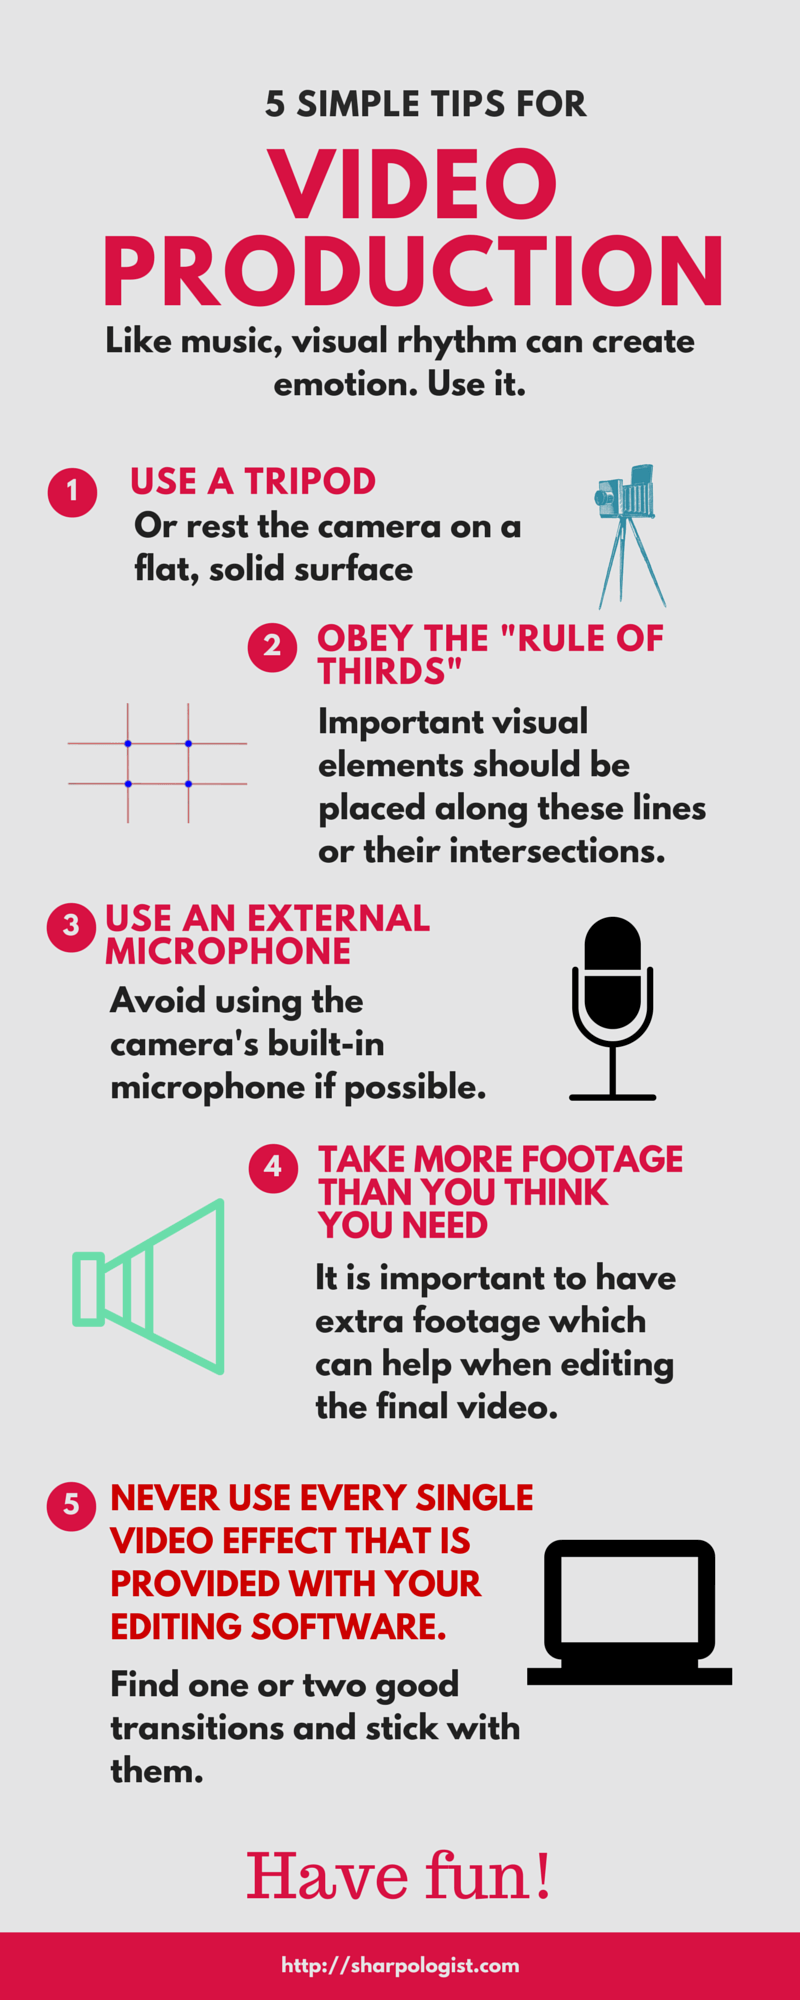
5 video tips (PDF)
More ideas or suggestions about making shaving videos? Post them here!

No. 6: And never, ever let anyone know outside of the wet-shaving community that you record yourself shaving to post on the Internet!
It is labor intensive, and a directors chair marked Mantic59 is in order.
Wear a T-Shirt! Nothing more gross than to see another guys wet, hairy chest and underarm hair! Just sayin 😉
As I shave in the shower, I promise to do everyone a favor and never make a shaving video.
Good stuff though, Mark.
Hmm. I’m wondering which side of the sink is yours and which is hers.. 😀
Great article and very useful suggestions. Thanks!
A comment on Microphones. In a typical bathroom environment you are going to get echo. There are a couple of ways to help. The first is microphone selection. Breaking miss down to the basics there are 2 types, condenser and dynamic. In general a condenser picks up everything (you, the dripping faucet, the dog walking across the floor, echoes…well you get the idea!) A dynamic mic generally picks up the speaker and little else (although in a bathroom setting you will probably get echo.)
Another thing that you can do is make sure your put some towels out. Place them around, especially on hard surfaces. This will help dampen the echo.
Great article!
Rick, I certainly agree that dynamic mics are the way to go when possible, but they’re usually more expensive. A condenser lapel mic will cost ~$20, while a dynamic one will cost much more and probably won’t be able to plug into an inexpensive camera’s mic jack directly (XLR connector vs. mini jack).
Great article Mark. I really like the resources you have added as well. This is something I have pondered, but I haven’t jumped on the this particular bandwagon… yet.
Comments are closed.